How to design MDF doors: from pattern to CNC
Updated: CNC6 min readBy the moducut team
Summarize this article with an AI tool:
Short answer
What is MDF door design?
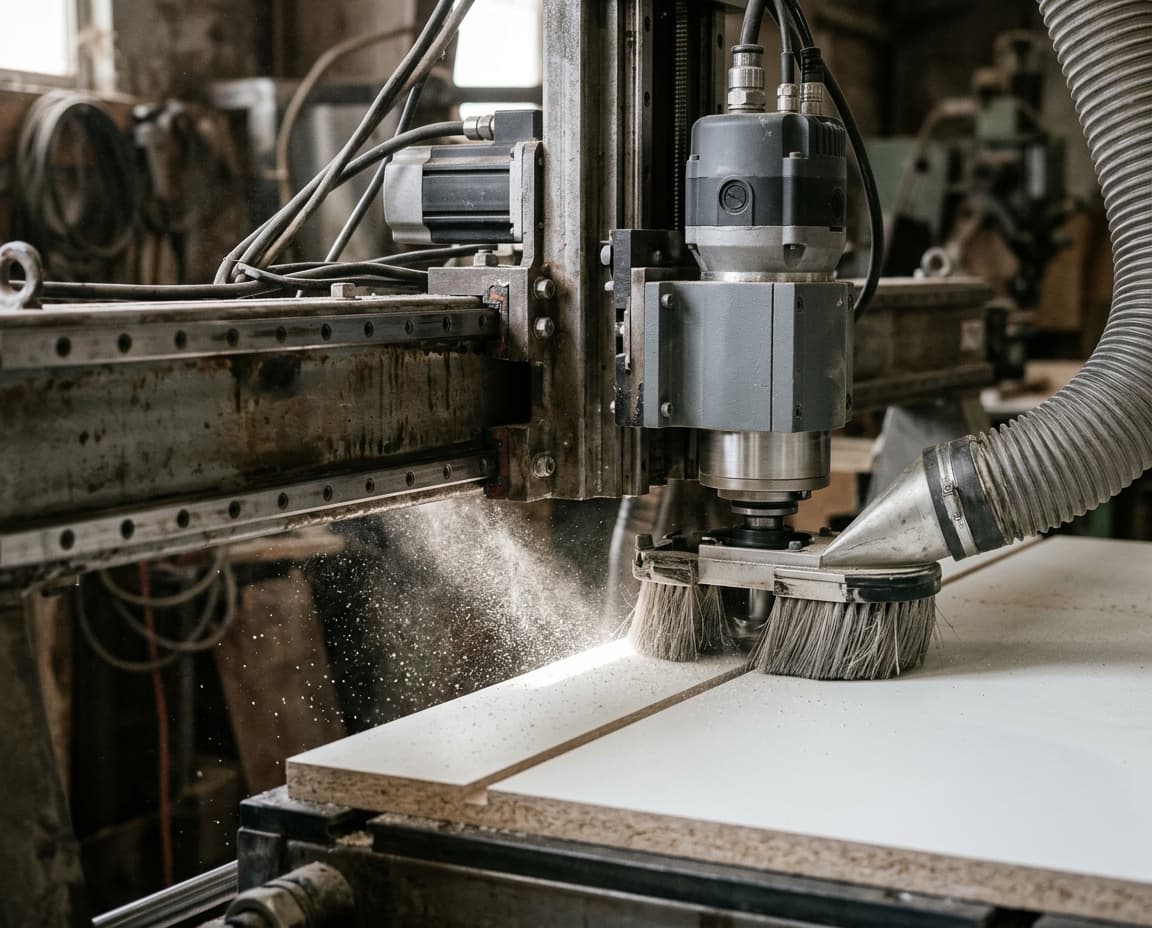
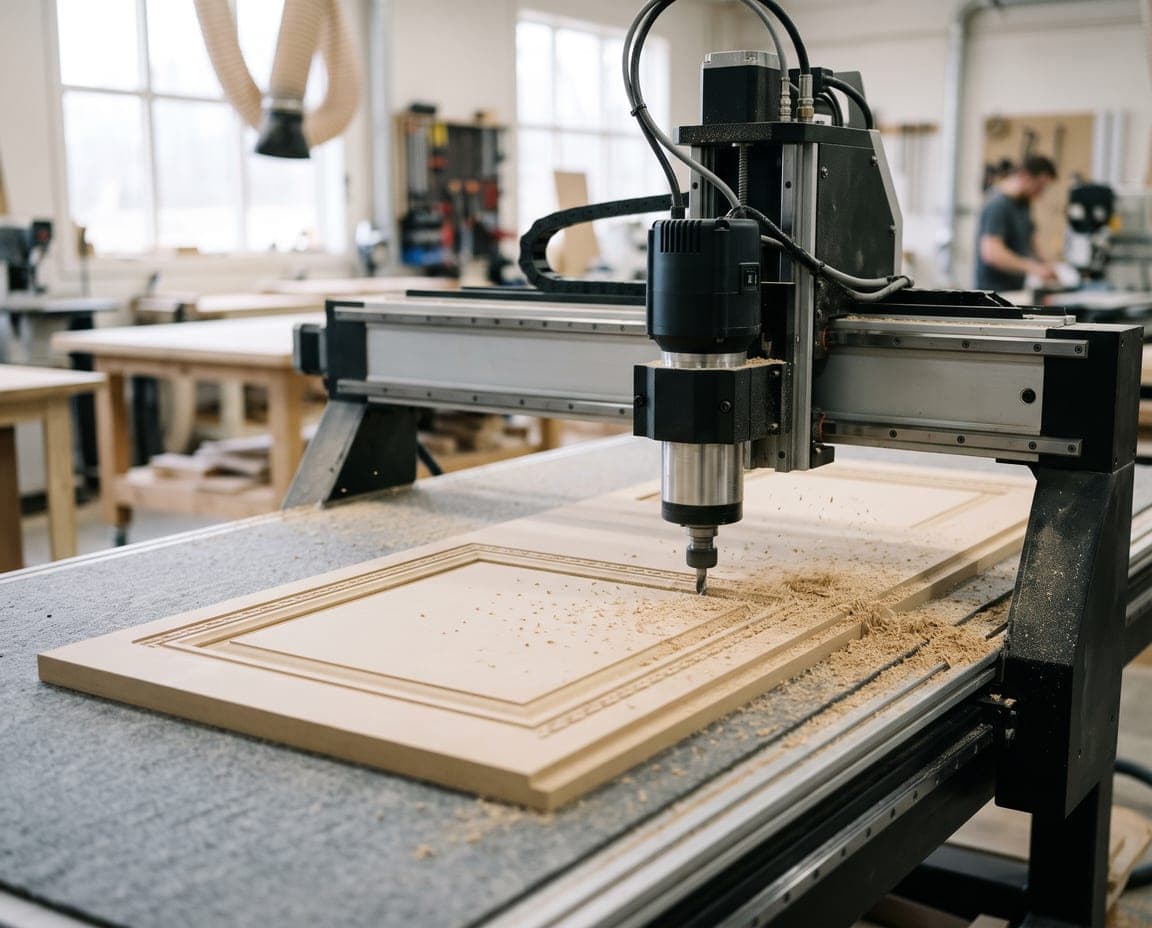
MDF door design is the job of setting the size of a cabinet door, entry door or drawer front and the pattern to be machined on its face. The pattern is made up of frame lines, pockets, a center panel, decorations such as borders and motifs, and the edge profile. Each of these lines becomes a toolpath that a bit follows on the CNC.
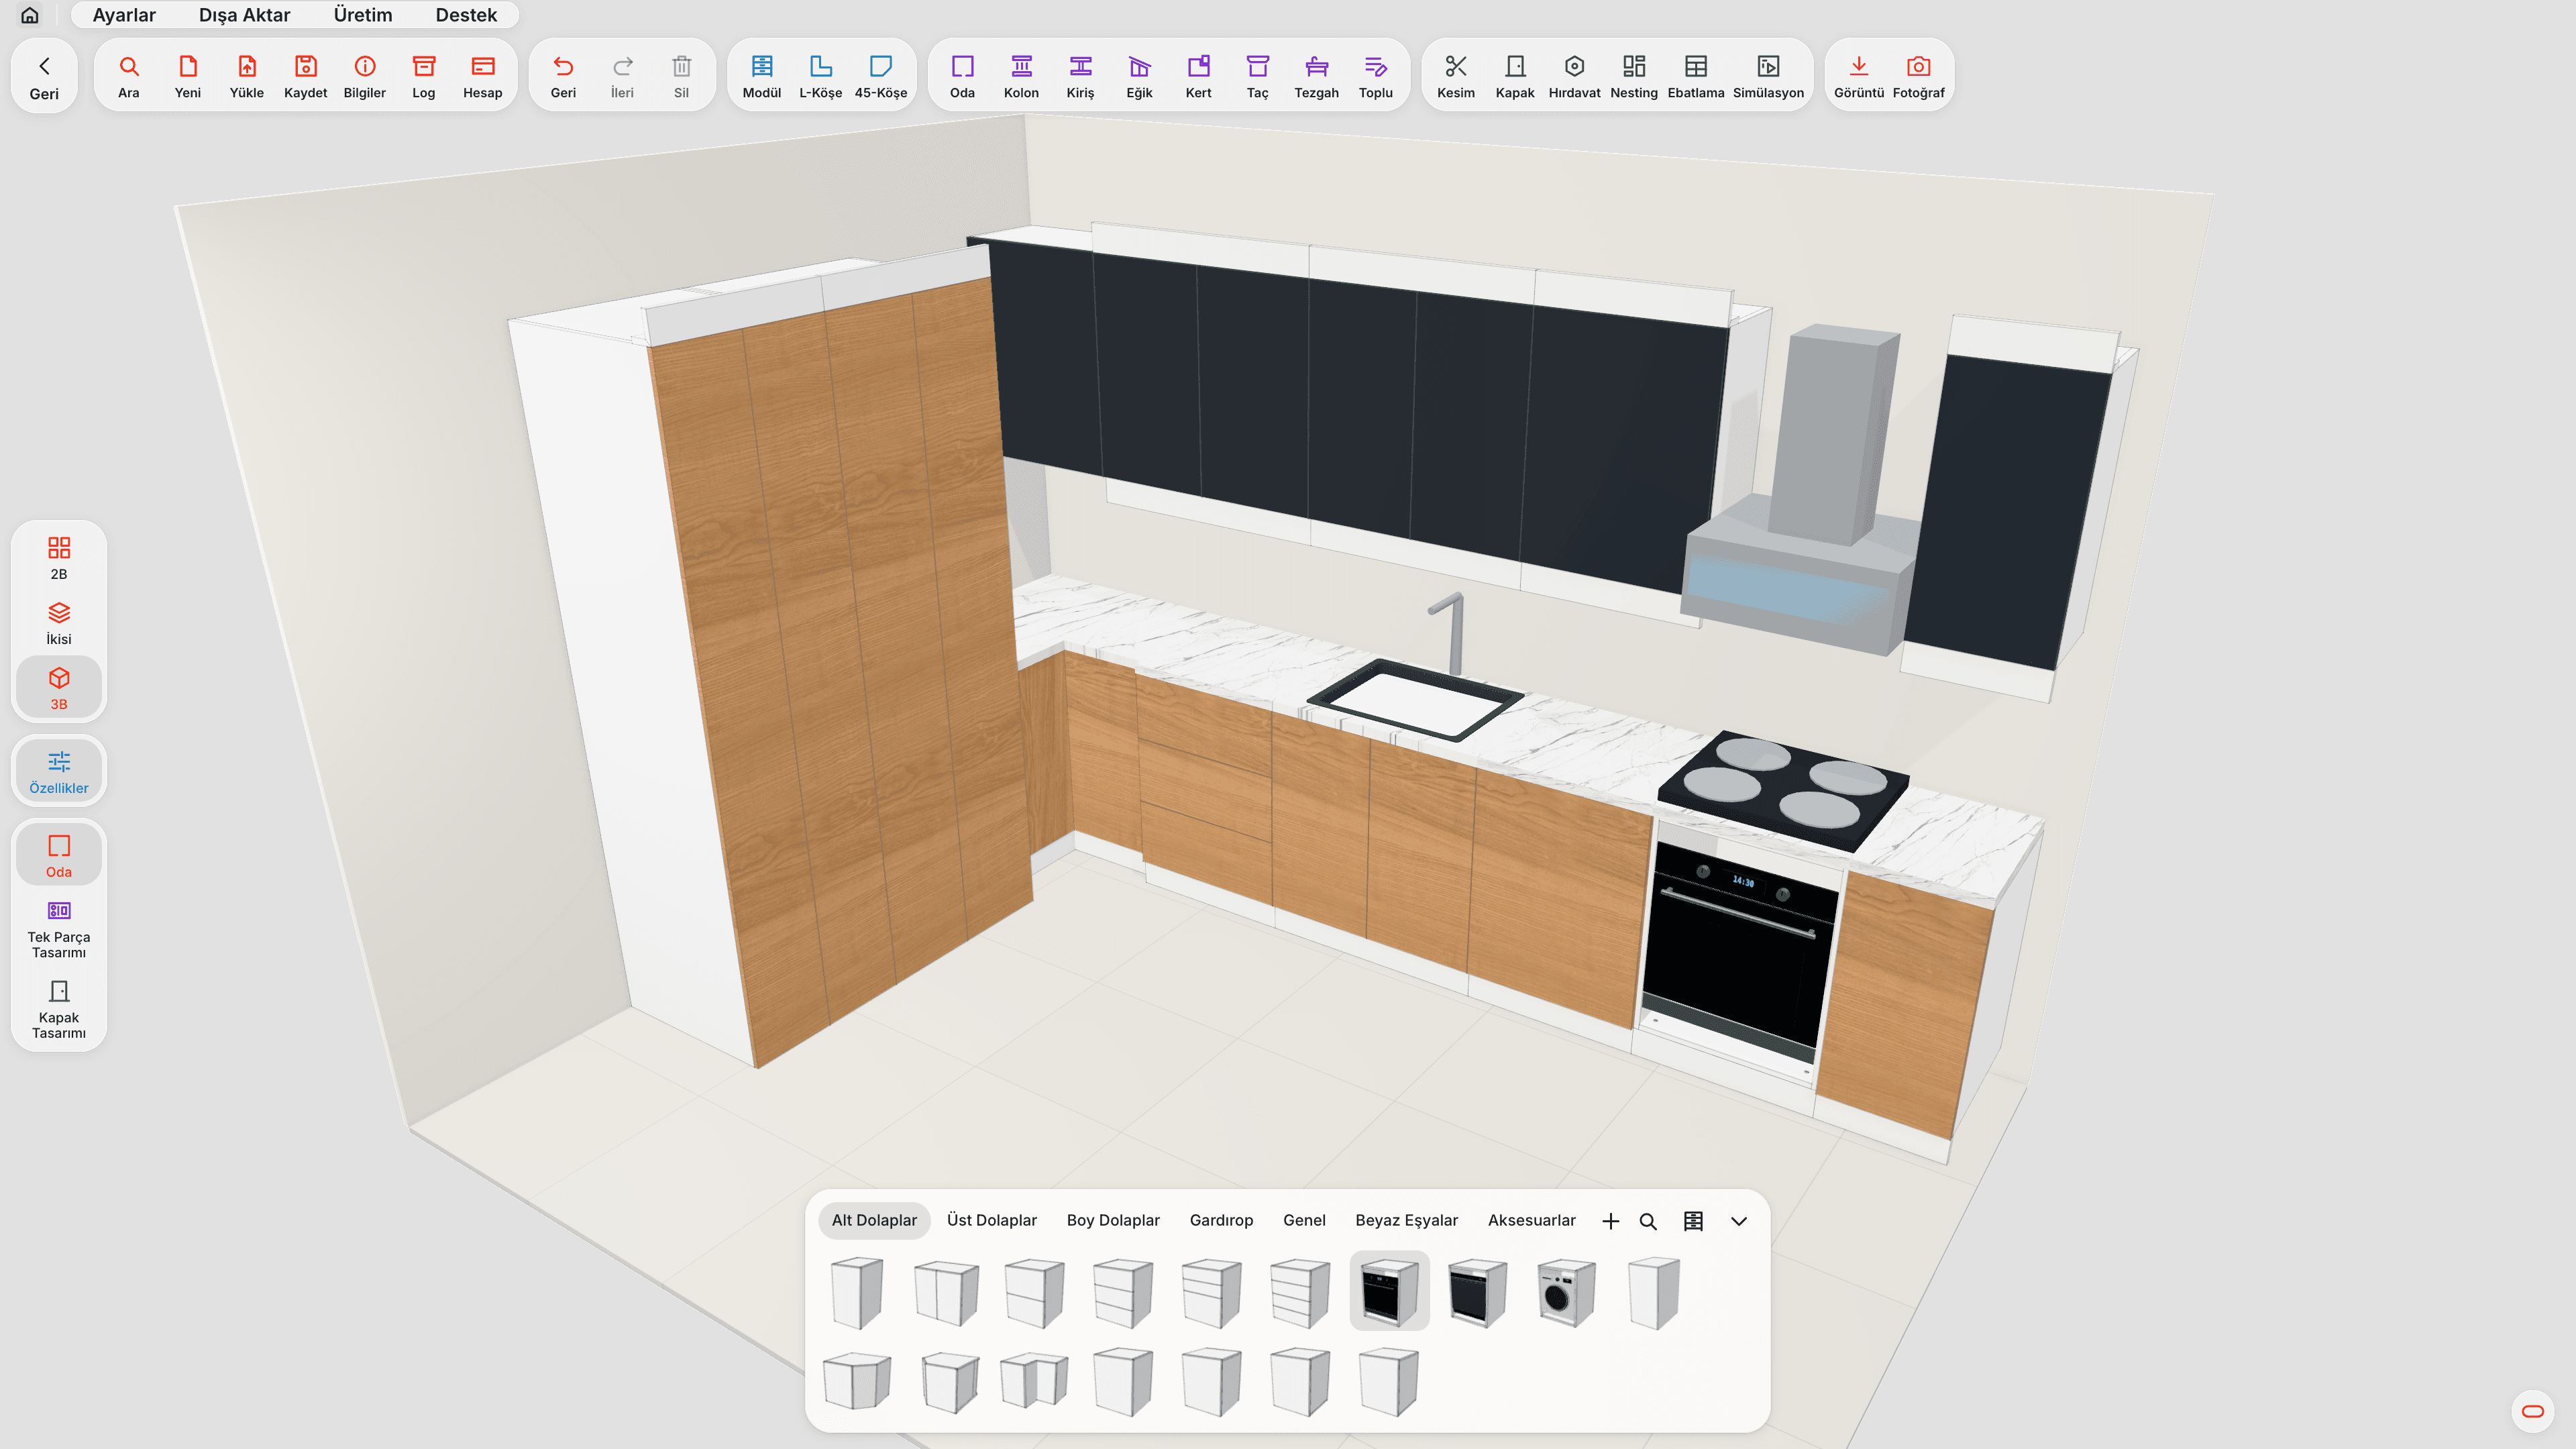
In the shop this work often runs in two separate places: cabinets are drawn in one program, and doors are prepared in another program or in a hand-kept list. When a size changes, both sides have to be updated. Designing the doors inside the cabinet project removes this double entry.
Step 1: Open Door Design mode
Open the project in moducut and click the door icon on the Room · Single Part · Door Design switch on the right of the bottom bar. The screen switches to the door ribbon; if the order has no doors, the New door panel opens on its own. Details of the screen are on the Door Design mode page.
Step 2: Enter the door size and type
A new door goes step by step: Size, Angled, Arched, Glass, Handle, Tall, Drawer. For a plain door the size is enough; options such as an angled or arched door, a glass cut-out, a handle, and a tall door or drawer front are on their own tabs. You change this information for the selected door later in the Part Detail panel. Details are on the New door and Part Detail page.
If you have already drawn the cabinets in the room, you do not need to enter the doors again: Project › Import from project brings the doors and drawer fronts of the project's cabinets into the order.
Step 3: Choose an MDF door pattern or draw your own
Library › Library on the ribbon opens the Door Library. Models are grouped into Door, Entry Door and Divider; the moducut collection that comes with the program is listed as MC001, MC002 and so on. Patterns you save yourself are in the My Patterns group. The card shows the model's drawing, size and the bits used; Select assigns the model to the selected door.
To change a ready-made pattern or draw one from scratch, use the Parametric Pattern panel:
- Frame lines. The distance of each line from the edge, its shape and its corner.
- Pocket and center panel. Pocketing between two lines or the center panel, a joint line on the center panel.
- Decorations. Edge medallion, border and motif; V-carving on motifs.
- Edge profile. A profile bit on the edge before the outer cut.
You keep the pattern with Save to library. Library patterns are used not only in Door Design but also on cabinet doors (Part Properties › Door model) and in Single Part; in the room they show up in 3D as relief. Details are on the Door Library and Parametric Pattern page.
Step 4: Gather the doors in an order list
Doors sit line by line in an order list. File › Order opens the Door Order panel: you enter the customer, project and mobile number; the top of the panel shows total m², material, hardware, machining time and the grand total.
If the list comes from somewhere else, it is brought in with Import from Excel. You hand over the order as a form with drawings and prices using Export to Excel, CSV or Print.
Step 5: Send to production for CNC door machining
Doors go through the existing production line:
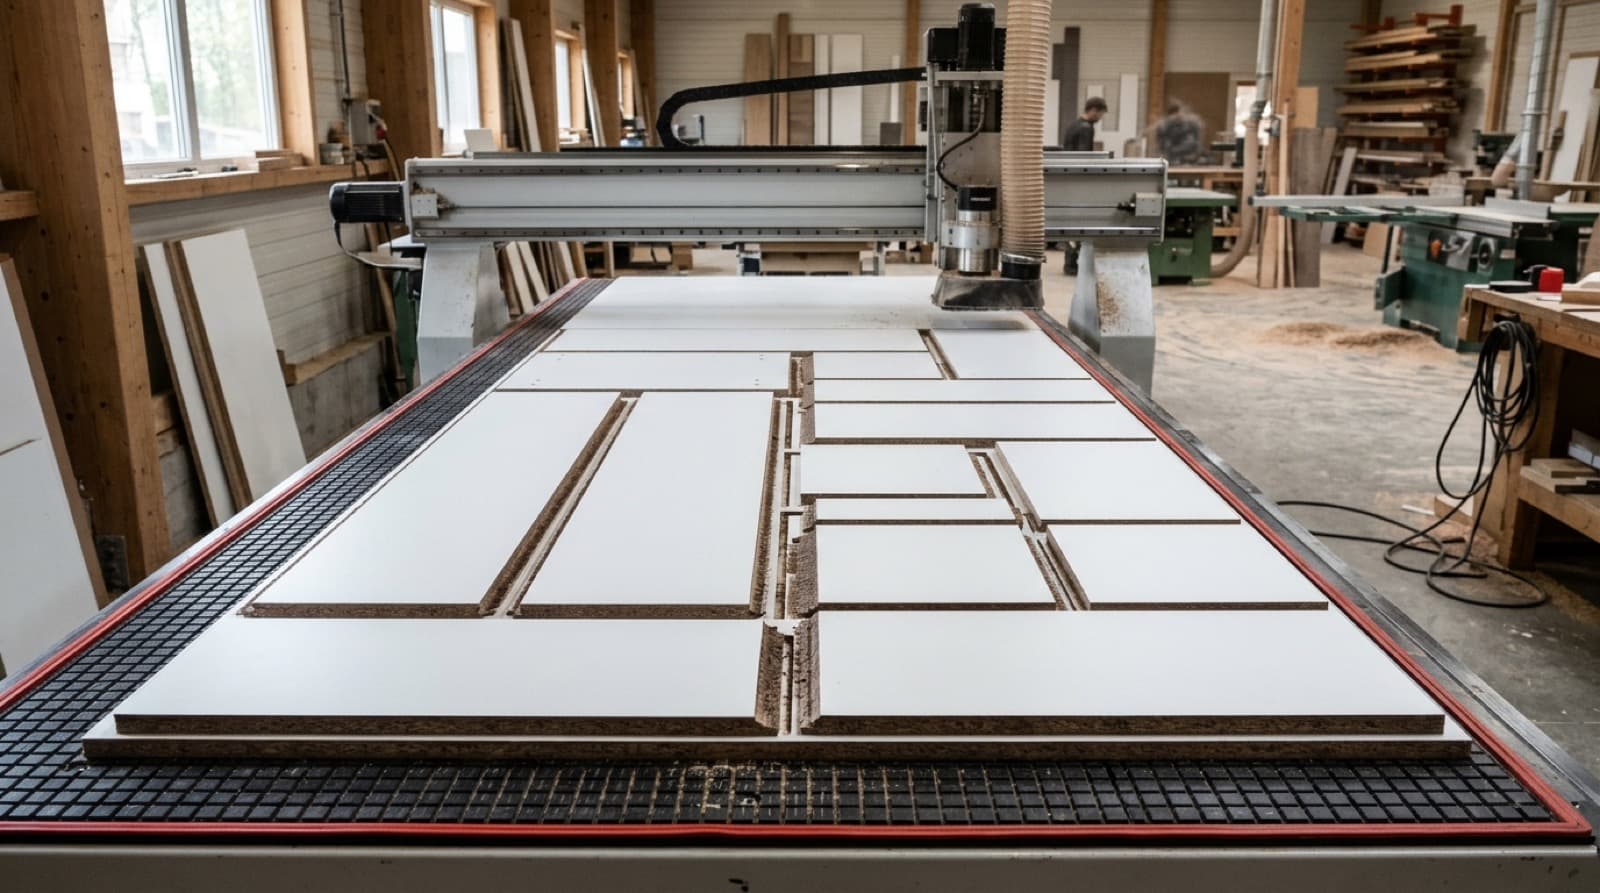
- Lay the doors out on sheets with Production › Nesting.
- Get the G-code from Nesting Results, just like the cabinet parts in the room.
- Produce the list and barcoded labels with Production › Cut list and Production › Labels.
On patterned boards, with Grain matching on, doors and drawer fronts in the same column are cut one after another, so the grain continues across doors that sit side by side. Inner cuts such as glass cut-outs are set separately from sizing: With contour or Without contour, first and last pass. See Door orders and production and Sizing and inner cuts.
What to look for in furniture door design software
- Link to the cabinet project. If door sizes do not come from the cabinet, every change is entered twice.
- Editable patterns. Being able to change frame and pocket sizes matters as much as ready-made models.
- Preview. 2D toolpaths and 3D relief let you see the pattern before cutting.
- Order and price. Door work is often sold as a separate order; m² and machining time should be visible on the list.
- Direct CNC output. Switching to another program between design and G-code increases the margin for error.
All the features of Door Design are gathered on the Door Design product page.
Frequently asked questions
Do I need a separate program for MDF door design?
Not with moducut. Door Design is a mode of the same project, like Room and Single Part; doors are saved with the project and go through the same nesting, cut list and label flow.
Can I save my own door pattern?
Yes. A pattern you prepare with Parametric Pattern goes into the My Patterns group with Save to library. If you want to change a ready-made model, duplicate it first; the change stays in your own copy.
Do I have to re-enter cabinet doors one by one?
No. Project › Import from project brings the doors and drawer fronts of the cabinets you drew in the room into the order list. The steps are in Adding cabinet doors to an order.
Can I import a door order from Excel?
Yes. File › Import from Excel brings an Excel or CSV file with columns such as Model, Height, Width and Quantity into the order. See Importing a door order from Excel.
How do I send doors to the CNC?
Lay the doors out on sheets with Production › Nesting and get the G-code from Nesting Results. The steps are in Sending a door order to production.
Can I try Door Design?
moducut comes with a 7-day trial; in the trial version a total of 10 sheets can be sent to production. You can get the installer from the download page.