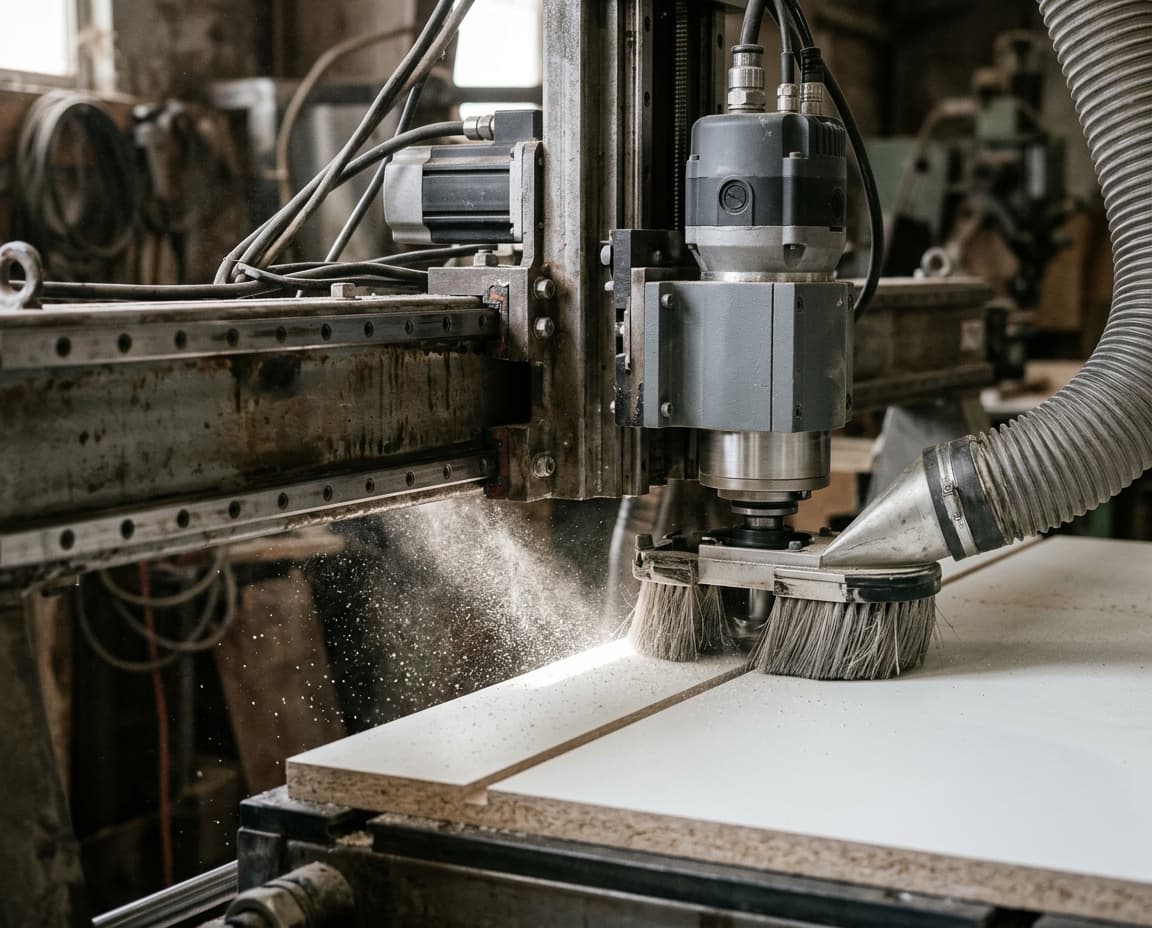
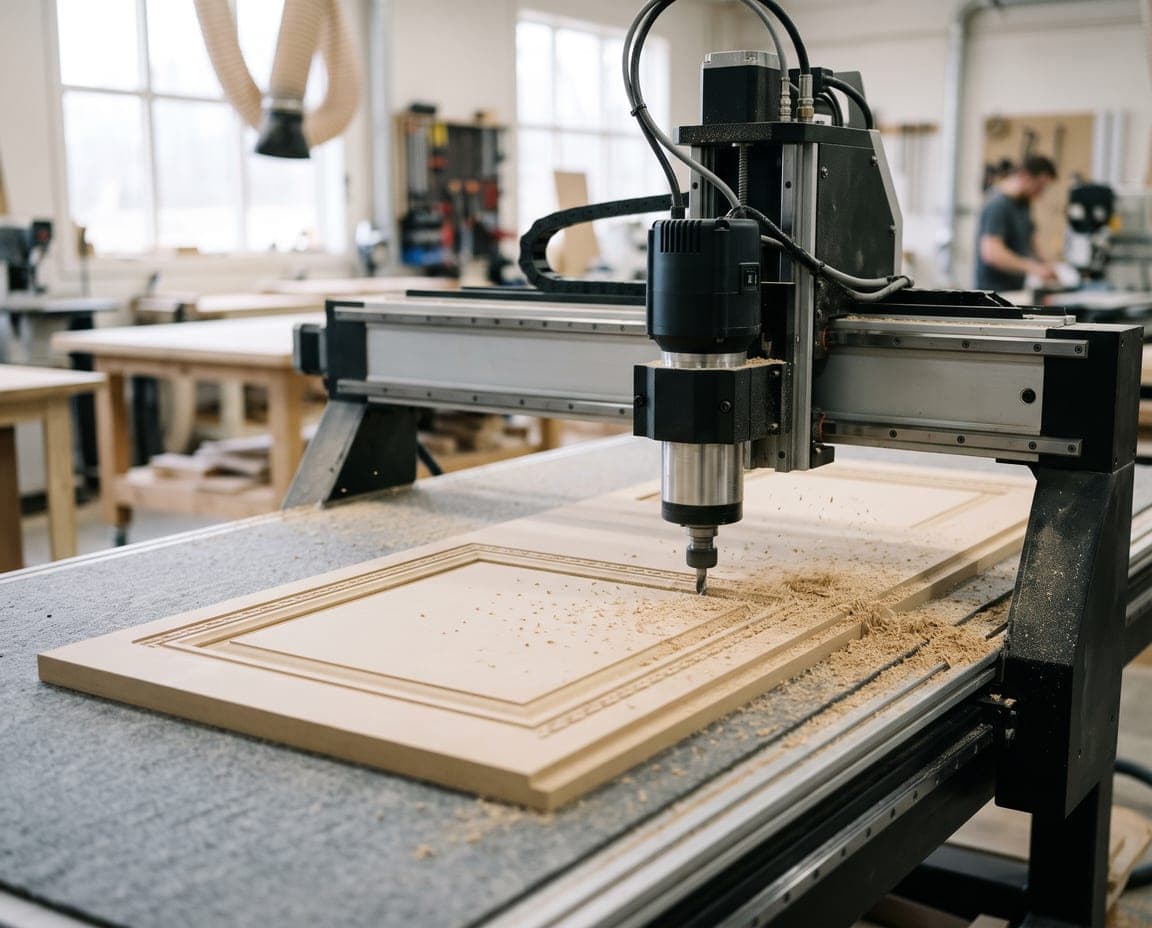
Moving to furniture production with a CNC router: workflow, software and the first week
CNC9 min readBy moducut
Summarize this article with an AI tool:
Short answer
What does a CNC router change in the workshop?
In a workshop working with a panel saw and hand drilling, the workflow is usually: measure, draw, make the cut list, size the sheets, drill holes with a jig, apply edge banding, assemble.
A CNC router combines the sizing and drilling steps in this flow. Holes and grooves are machined while parts are cut from the sheet; shaped parts (curved tops, doors with cut-outs) need no extra work. In return, a file has to be prepared for the machine for every sheet.
| Step | With a panel saw | With a CNC router |
|---|---|---|
| Separating parts | Straight rip and cross cuts | Cutter goes around each part |
| Holes and grooves | Separate machine or by hand | In the same program |
| Shaped parts | Extra work, jigs | Straight from the drawing |
| Preparation | Cutting plan is printed | G-code for every sheet |
| Waste | Bound by guillotine rules | Usually lower with free layout |
Which decisions should be made before the switch?
Which jobs will go to the CNC?
Not every job needs to go to the CNC. Some workshops cut the carcass on the panel saw and send only doors and shaped parts to the CNC; others move all work to the CNC. This decision determines the nesting method in the software (CNC or guillotine) and how the cut list is split.
Which software will prepare the files?
The software that comes with the machine usually only produces the toolpath; parts are drawn in another program. Dedicated furniture software draws the cabinet and produces the parts and holes itself. We explained this distinction in detail in our how to choose furniture CNC software article.
Who will prepare the files?
If only one person can prepare files, the machine stops on the day that person is away. Train at least two people from the start of the switch.
What is a machine profile, and why should it be set up correctly once?
The machine profile is the set of settings that determines how the software writes files for your machine:
- Post setting: The G-code format the controller expects, header and footer lines, file extension.
- Tool list: Which number holds which diameter cutter or drill, spindle speeds and feed rates.
- Table size and zero point: Where the sheet sits on the table and which corner the machine comes from.
- Depths: Sheet thickness, overcut into the spoilboard, groove and pocket depths.
When the profile is set up correctly, later jobs only need drawing. A wrongly set up profile repeats the same error in every job. We explained the basic logic of G-code in our G-code for furniture CNC article.
How should the first week go?
Day 1: Setup and zero. The machine's zero point, table size and tool list are entered into the profile. A short test program is run on an empty sheet.
Day 2: Single-part tests. A side panel and a door are cut. Outer size, hole positions and hinge cup depth are measured with a caliper.
Day 3: A full cabinet. All parts of a simple base cabinet are cut from one sheet and assembled. You see that dowel and connector holes line up.
Day 4: Small parts and order. Watch whether small parts such as plinths, rails and drawer parts shift during cutting. We explained the logic of cutting order in our CNC cutting order article.
Day 5: A real job. A small, non-urgent customer job is done from start to finish on the CNC; problems are noted and the profile is corrected accordingly.
How should the workshop layout change?
A CNC router is not just a machine; it also reorganises the workshop flow.
Sheet infeed. A router works with full sheets. The sheet stack should be near the machine; for one person to put a full sheet on the table, plan a lifting aid or a two-person routine.
Cut part outfeed. Dozens of parts come out of one sheet. If parts are not sorted by cabinet and job, they get hunted for at assembly. So a labelling and parts cart routine should be set up from the start.
Edge banding. Parts coming off the CNC go to the edge bander. Which edge is to be banded should be clear on the part or the label; otherwise the operator has to go back to the drawing.
Chips and dust. A router produces finer dust than a panel saw. The extraction system must be adequate for both health and cut quality; chips left on the table also weaken the vacuum.
How should you calculate cost and benefit?
The benefit of a CNC router is not only cutting speed. When calculating, look at these items:
| Item | Panel saw + hand drilling | CNC router |
|---|---|---|
| Separate labour for holes and grooves | Yes | Largely none |
| Shaped parts | Extra work or outsourcing | In the same program |
| Recuts caused by errors | More frequent with hand marking | Rare if the drawing is right |
| File preparation time | Cutting plan | Program for every sheet |
| Waste | Bound by guillotine rules | Usually lower with free layout |
File preparation time is the critical row of the table. If files are prepared by hand, the time the machine saves is lost in the office. With software that produces files directly from the drawing, this row shrinks.
What are the most common mistakes in the switch?
- Using the profile on a real job without testing. An error noticed on the first sheet spoils the whole job.
- Neglecting the spoilboard. An unsurfaced spoilboard weakens the vacuum and small parts shift.
- Treating tool diameter as fixed. As a cutter wears, its diameter shrinks; the cut size changes.
- Measuring waste only as a percentage. Whether offcuts can be reused also matters.
- Nesting with panel saw habits. On a CNC you don't have to follow guillotine rules; free layout can give less waste.
How should the team be trained?
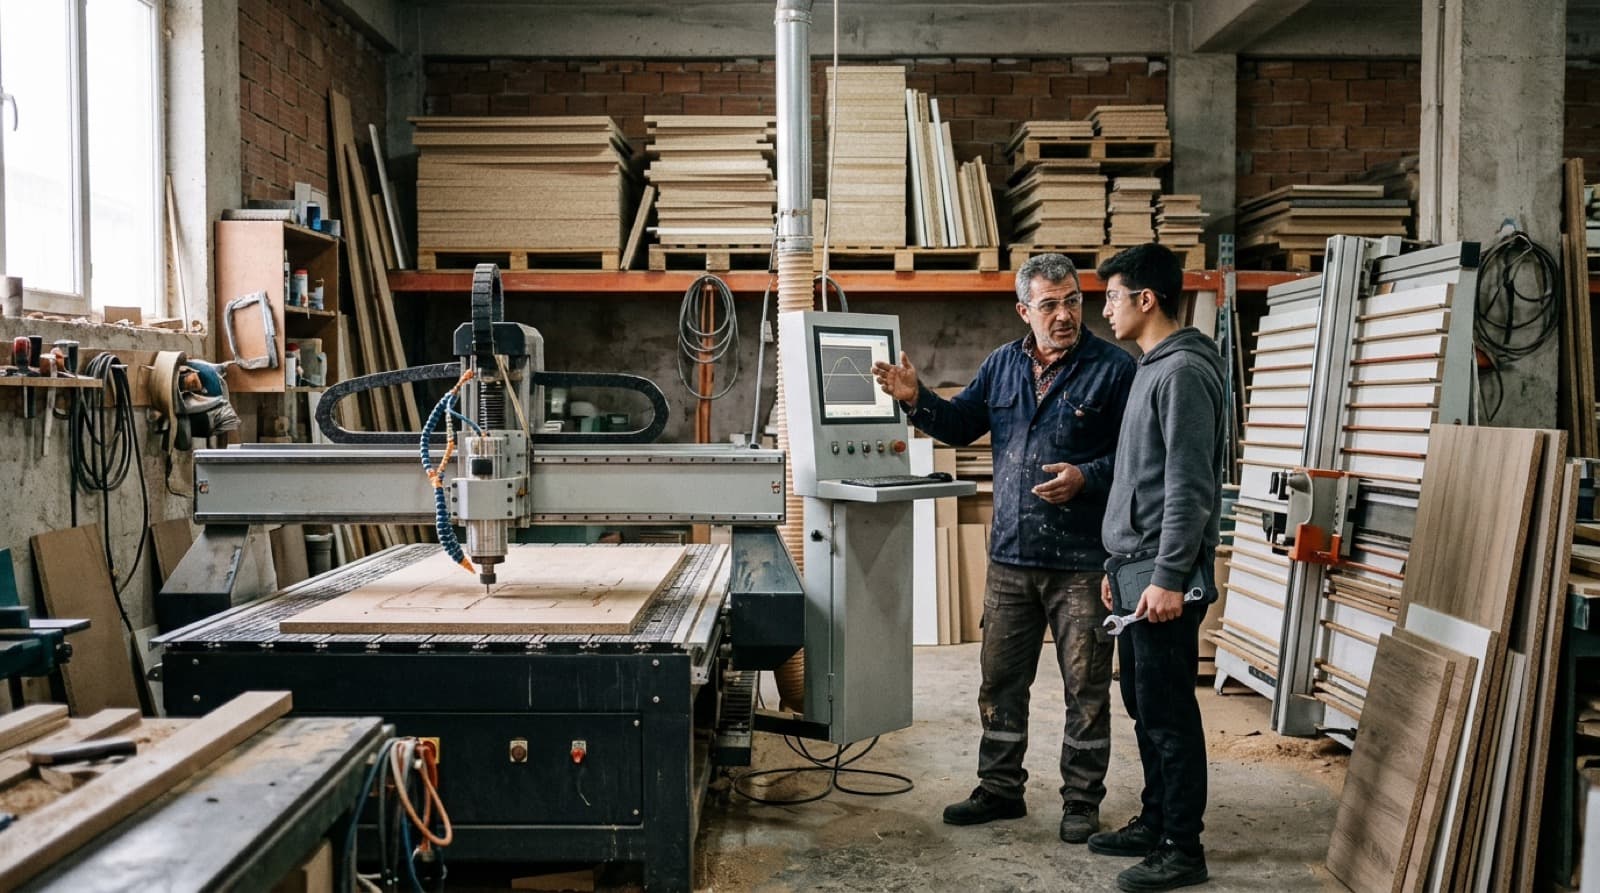
The most overlooked part of the switch is the people. The company that installs the machine usually teaches how to use the machine, but not how to turn the workshop's own work, with its own cabinets, into files.
The office side. The person who draws must know that the drawing now goes straight to the machine. Small size errors that a craftsman "fixed on the spot" when working by hand are cut exactly as drawn on a CNC. Drawing discipline is therefore the first requirement of the switch.
The machine side. The operator must learn to place the sheet on the table correctly, take the zero, check the tool and look at the simulation before starting the program. Staying at the machine during cutting is the rule, especially in the first weeks.
A shared language. Part names, labels and cabinet numbers must be the same in the office and the workshop. If "left side" means one part in the office and another in the workshop, there will be confusion at assembly.
Training with real jobs works best: drawing and cutting three or four of the workshop's common cabinets together teaches much faster than abstract explanation.
How does moducut help with the switch to a CNC router?
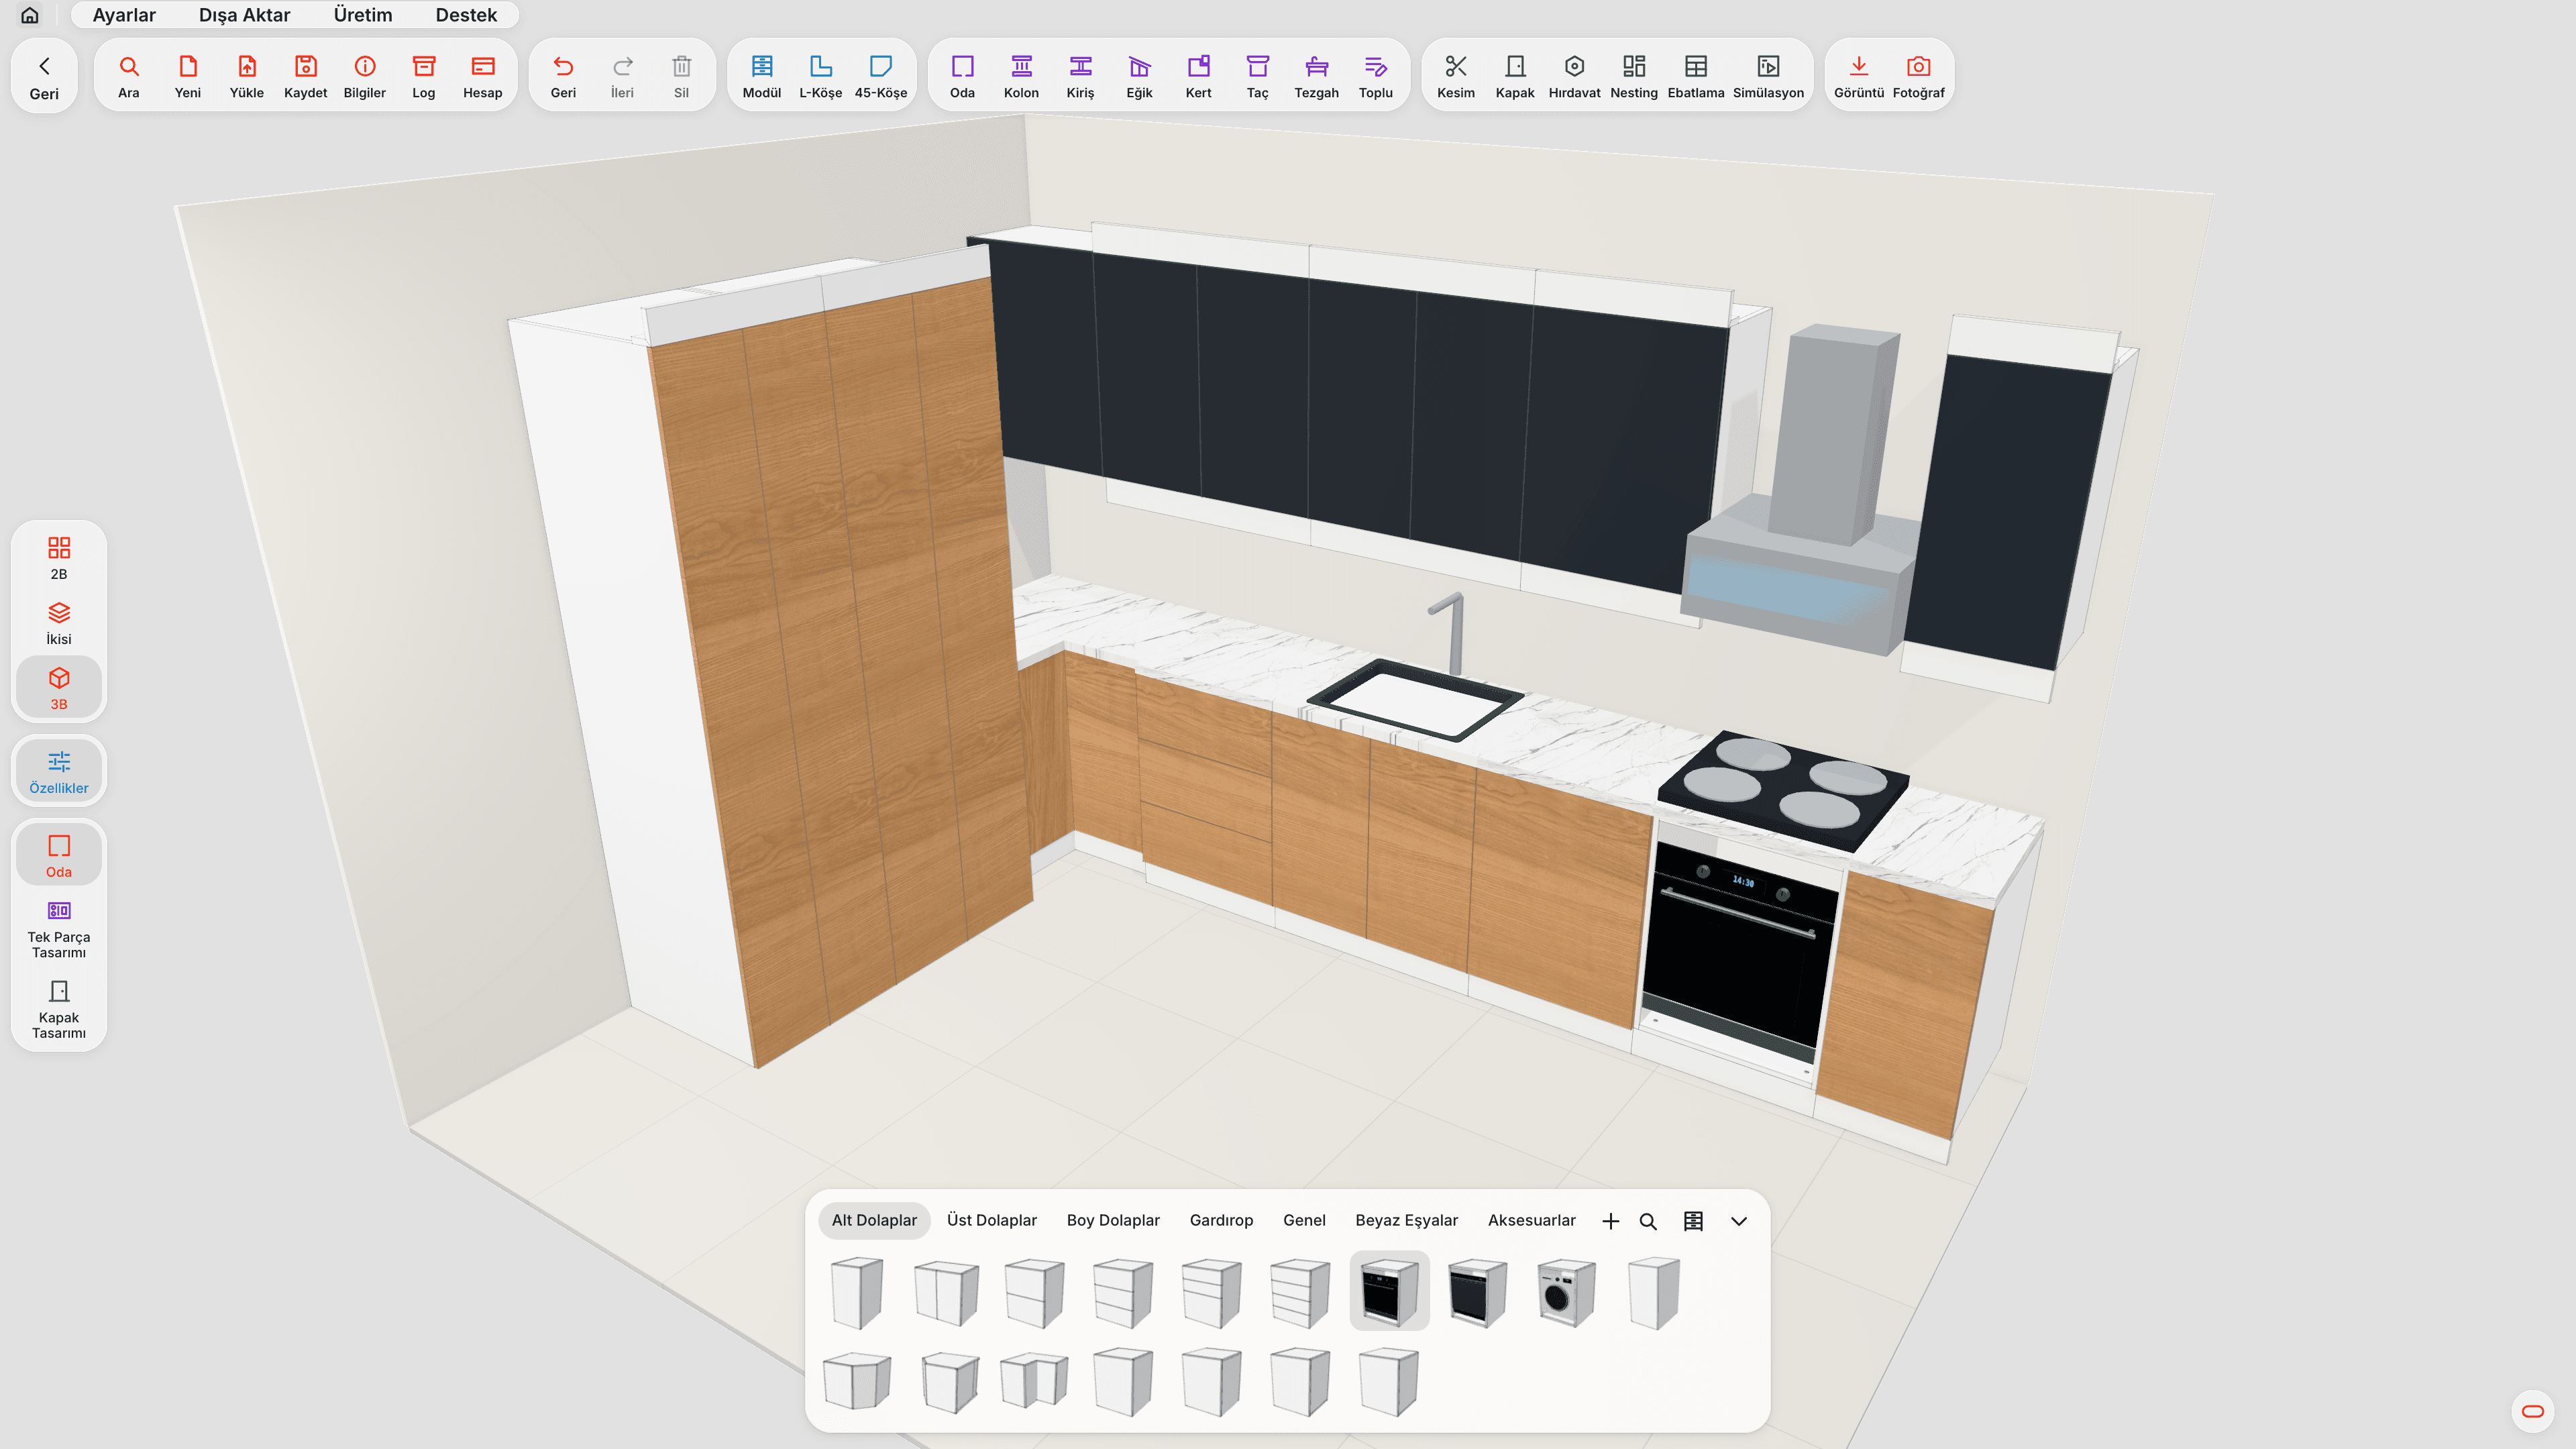
In moducut you draw the cabinet; the cut list, nesting and G-code come from the same project. In nesting you can choose between CNC and guillotine methods, so a workshop that cuts the carcass on a panel saw and the doors on a CNC also works with the same project. Holes and grooves come from the drawing, and flip-side programs are exported separately for underside operations.
In the cutting simulation you can watch the whole cut of a sheet without sending it to the machine. If your machine's profile is not on the list, it is requested from within the app; when the profile is ready it arrives with an update. moducut runs only on Windows and can be tried free for 7 days.
You can find all features as furniture CNC software on the G-code and CNC and Nesting pages.
Frequently asked questions
Should I sell my panel saw when I buy a CNC router? Not necessarily. Many workshops cut plain carcass parts on the panel saw and drilled and shaped parts on the CNC.
Is the software that came with the machine enough? It may be enough for the toolpath, but you have to draw parts in a separate program. Dedicated furniture CNC software offers a single flow from drawing to file.
How much waste should I expect in the first month? Because it is a testing and tuning period, waste can be high in the first weeks. Once the profile settles, waste depends largely on nesting quality.
Does the operator need to know G-code? No. The software writes the G-code; the operator just needs to know the tool, zero and table settings.
How long does the switch take? For simple jobs, a real job can be cut by the end of the first week. Getting the profile settled in every detail takes a few weeks of use.
Does the router do edge banding too? No. The router cuts, drills and grooves the part; edge banding is done on a separate machine. Which edge is to be banded should be clearly marked on the part or label. Some workshops have the edges to be banded marked on the sheet, so the operator at the edge bander works without going back to the drawing.
Does a CNC router make sense for a small workshop? If most jobs are plain carcasses with few holes, a panel saw may be enough. As the number of holes, grooves and shaped parts grows, and if the team has a labour bottleneck, the router's benefit becomes clear. Before deciding, counting the last few months' jobs by part and operation type is a sound start.