Drilling and grooving on a CNC: hinge cups, dowels, Cabineo and back panel grooves
CNC9 min readBy moducut
Summarize this article with an AI tool:
Short answer
What is the benefit of drilling and grooving on the CNC?
In a traditional workshop, parts are cut on the panel saw and then drilled on a boring machine or by hand. Every part is handled a second time, the size is read again and a jig is set up. The more parts there are, the higher the chance of error.
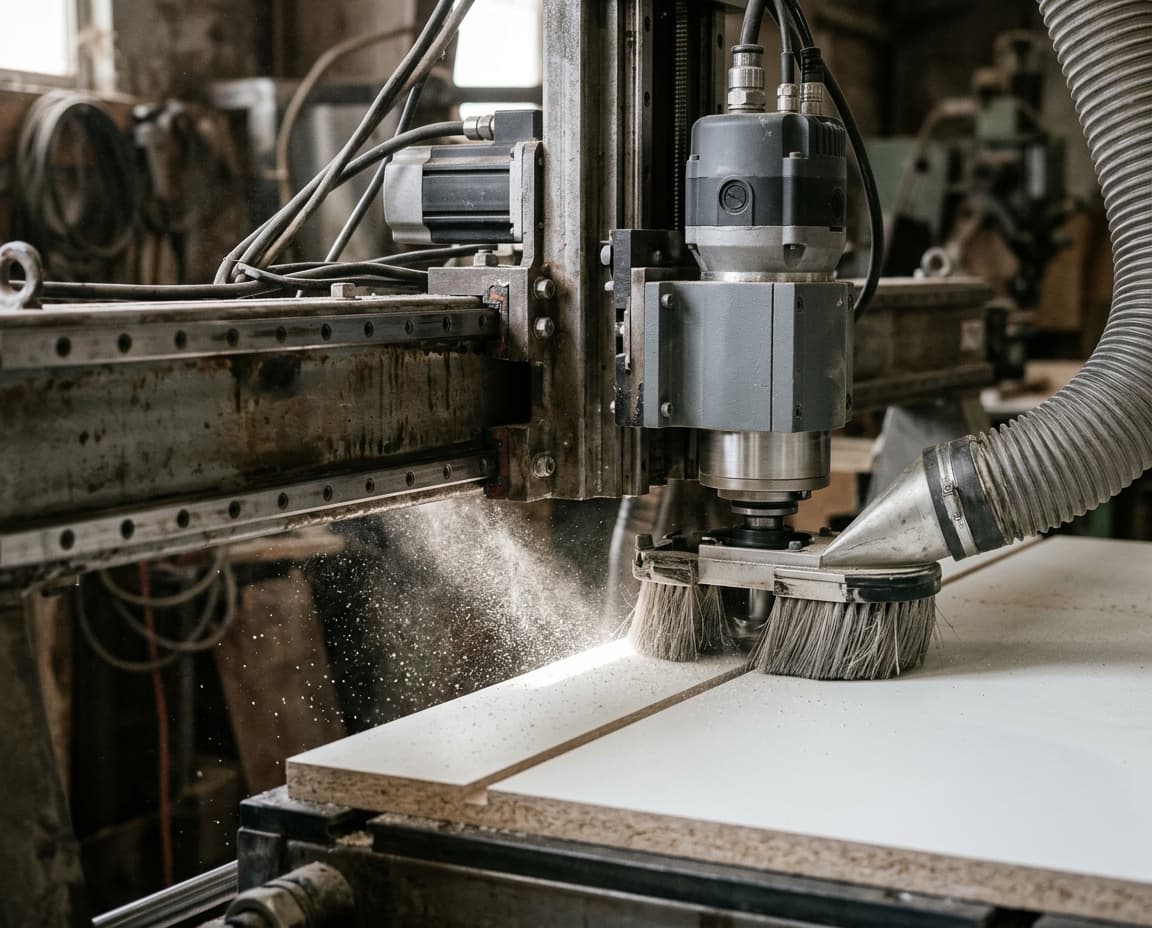
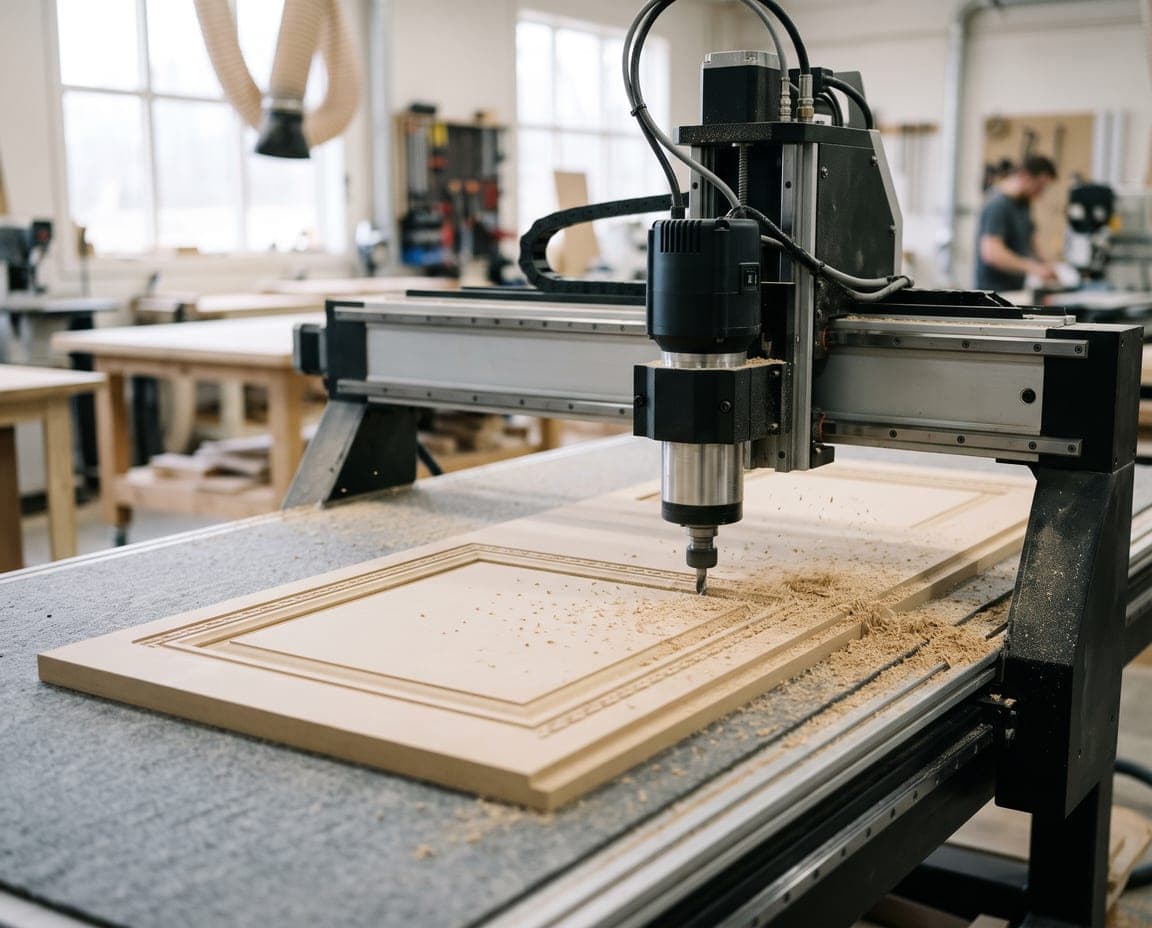
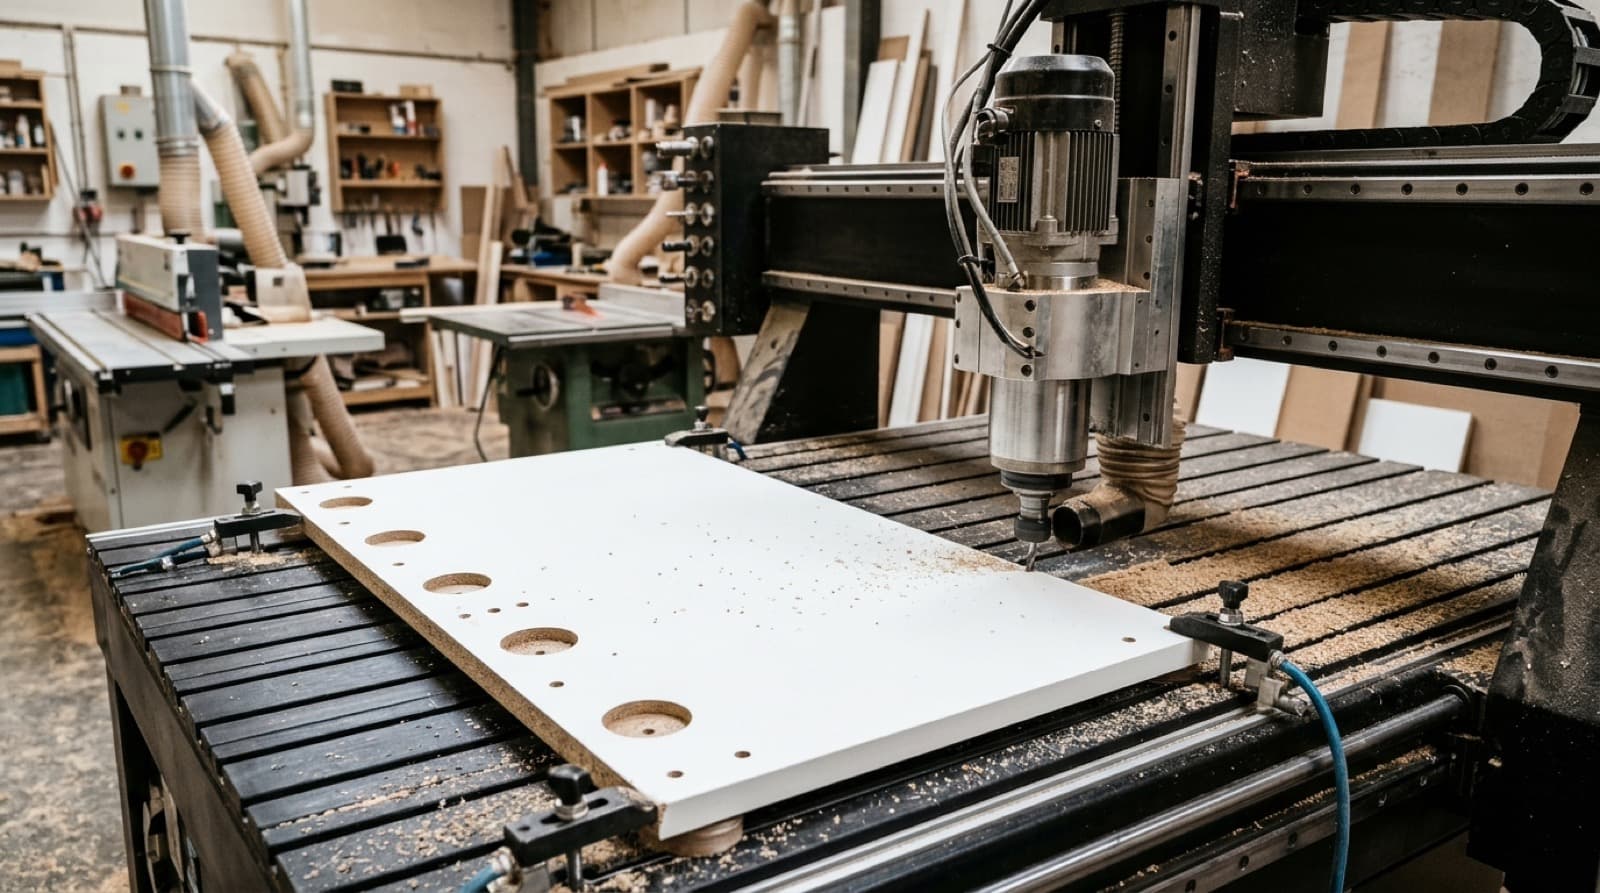
On a CNC, drilling, grooving and cutting are done in the same coordinate system. While the part is still in the sheet, the hinge cup is machined, dowel holes are drilled, the back panel groove is cut, and the outer perimeter of the part is cut last. The part is held once and its size is defined once.
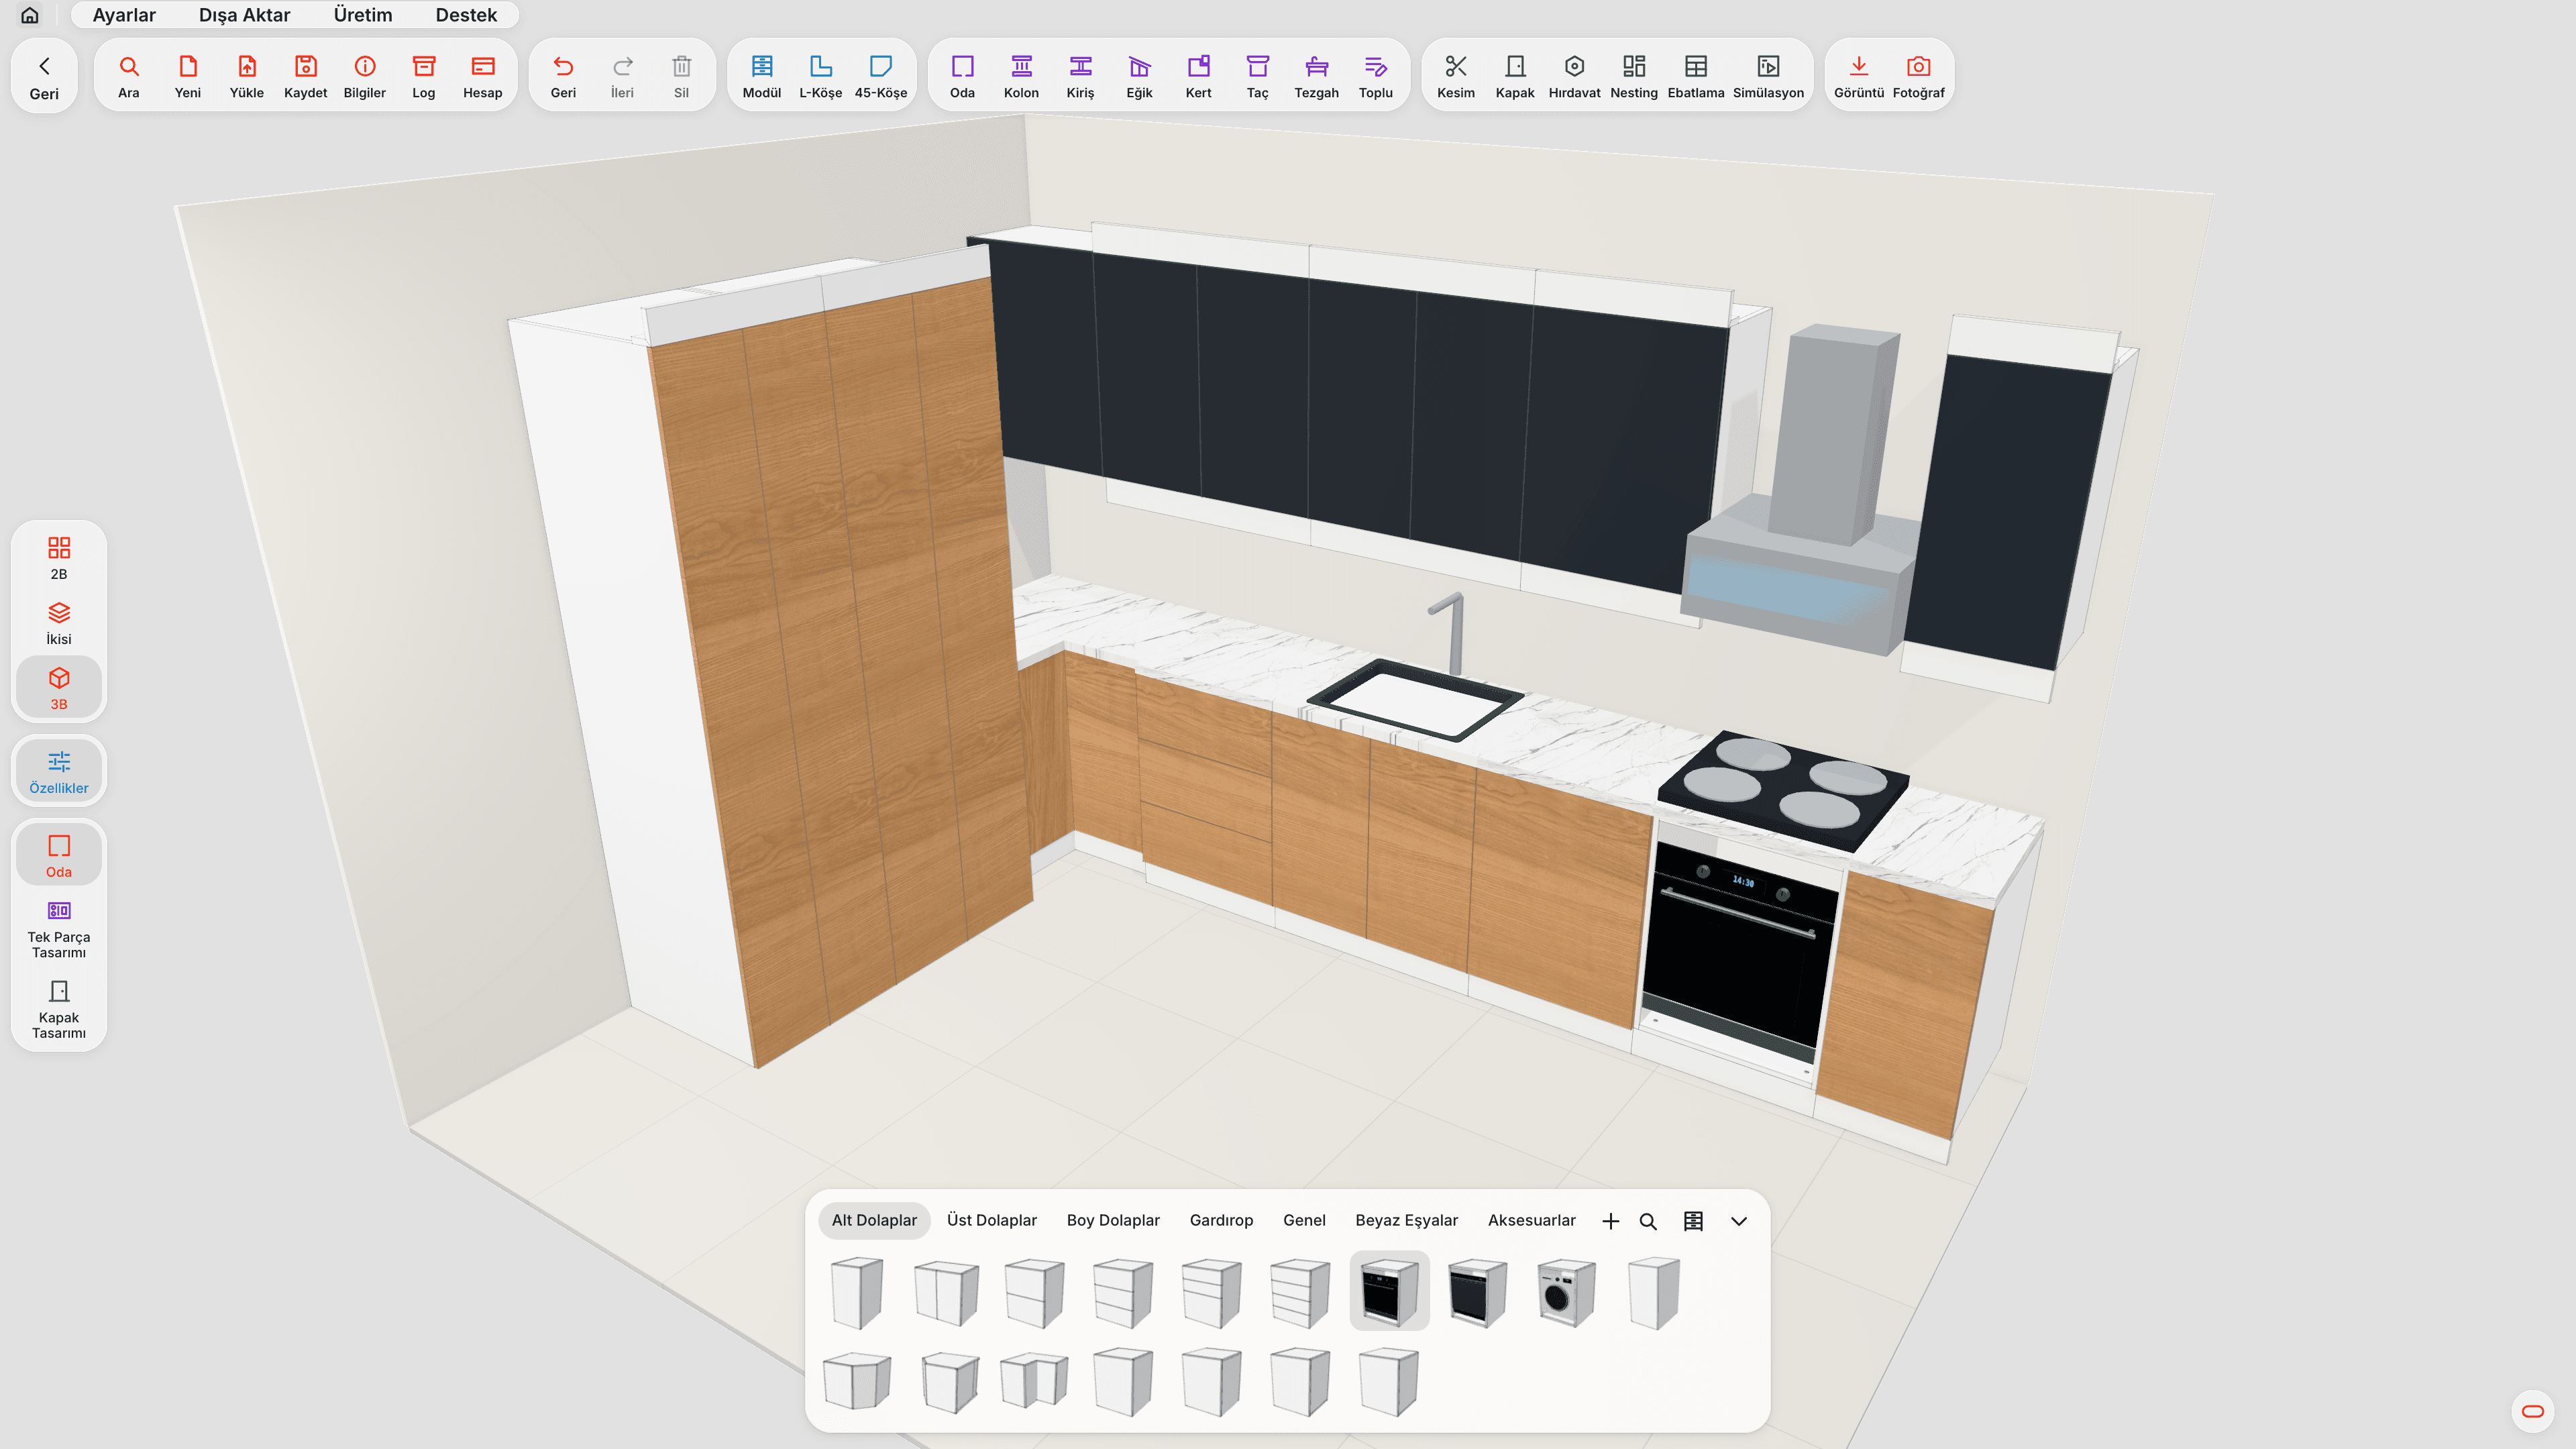
For this to work, the hole data has to come from the drawing. Good furniture CNC software places hinge, dowel and shelf pin positions on the part itself as you draw the cabinet; the operator does not enter hole coordinates.
Which holes and grooves are most common in furniture?
| Operation | Where | Typical size | Watch for |
|---|---|---|---|
| Hinge cup | Inside face of the door | Ø35 mm, 11–13 mm deep | Distance from door edge depends on hinge type |
| Hinge plate | Inside face of the side panel | Ø5 mm holes | Considered together with the overlay type |
| Dowel | Side, top/bottom, rail | Ø8 mm | Same axis on both mating parts |
| Shelf pin | Inside face of the side panel | Ø5 mm, 32 mm spacing | Rows at the same height on both sides |
| Cabineo housing | Inside face of the side panel | Manufacturer's data | Mating hole on the face of the top/bottom |
| Back panel groove | Inside face of side, bottom, top | Back thickness + allowance | Groove distance depends on back panel type |
Sizes vary by hardware manufacturer and workshop preference; the table is a starting point. We explained hinge types in our hinge types and door overlay article.
How is a hinge cup machined?
A Ø35 mm cup is usually made in one of two ways: in a single plunge with a Ø35 mm drill bit, or as a circular pocket with a smaller-diameter cutter. The drill bit is fast but needs a tool change. Pocketing with a cutter is practical for a workshop working with a single tool, but takes longer.
The cup depth is close to the door thickness; if the depth setting is wrong, a mark can show on the front of the door. Checking the depth on a test piece on the first job is a good habit.
What should you watch for with connectors such as dowels and Cabineo?
Mating holes must be on the same axis
A dowel joins two parts: a hole is drilled in the face of the side panel and in the edge or face of the top/bottom. If the two holes are not on the same axis, the parts won't join or the carcass comes out out of square.
Housing and mating sizes must come from the manufacturer's data
For connectors such as Cabineo, the housing diameter and depth and the face distance of the mating hole are set from the manufacturer's data. If these values are guessed, the top/bottom sticks out or the connector does not fully tighten. Once the size is defined correctly, it should stay the same across all projects.
Edge drilling is not always possible on a CNC
A three-axis router cannot drill horizontally into the edge of a part. For joints that need edge holes, either a machine with a horizontal drilling unit or a connector that works from the face is chosen.
How is a back panel groove cut?
The back panel groove is cut on the inside face of the side, bottom and top parts, at a set distance from the back edge. The groove width is the back panel thickness plus a small allowance; the depth should be enough not to weaken the part. With a grooved back, the parts finish the groove distance in from the back edge; the sizes in the cut list are therefore different from a cabinet with a nailed-on back. For details, see our cabinet back panel article.
How are underside (flip-side) operations done?
Some operations are not on the top face of the part but on its underside: for example a groove or mating hole on the underside of a top. Because a three-axis router works only from above, these operations are done in two steps:
- The sheet is machined and cut with the normal program.
- The relevant parts are flipped and placed back on the table.
- The flip-side program machines only the underside operations of those parts.
The most critical point here is mirroring. When the part is flipped, the coordinates are mirrored too; if the software does not calculate this correctly, the hole ends up at the other end of the part. The flip-side program should clearly show how the part is placed on the table (from which corner, facing which way).
Why do holes shift?
| Symptom | Possible cause |
|---|---|
| All holes shifted a few mm in the same direction | Rounding or allowance difference between cut size and drawing size |
| Holes on the mirrored side of the part | Mirroring error on the flipped part |
| Shift only on small parts | Part came loose from the vacuum during cutting |
| Mating holes don't line up | Different reference edges on the two parts |
We explained shifting related to cutting order in our CNC cutting order article.
What order should drilling and grooving follow?
If the same part has holes, grooves, pockets and an outer cut, the sequence directly affects accuracy. The general rule is:
- Holes first. The part is drilled while it is still whole in the sheet; the drill does not shake the part.
- Grooves and pockets next. Material-removing operations such as the back panel groove and hinge cup are done while the part is still attached to the sheet.
- Outer cut last. The part is separated from the sheet only after all its operations are finished.
If this order is broken, for example if the groove is cut after the outer perimeter, the freed part can shift under the cutter's side force and the groove will not be parallel to the part.
Tool changes also affect the order. In a workshop working with a single tool, all operations are done with the same cutter; on a multi-tool machine, all the work of one tool is done before the next, reducing the number of tool changes. We covered tools in our CNC router bit selection article.
Which information must be right in the drawing from the start?
For holes and grooves to come out right, a few settings have to be chosen correctly when the cabinet is drawn:
| Setting | Operation it affects |
|---|---|
| Carcass type (sides inside or top/bottom inside) | Which part has dowel and connector holes in the face and which in the edge |
| Back panel type (grooved, nailed, overlaid) | Groove distance, groove depth and parts' length from the back edge |
| Door overlay | Hinge plate position and cup distance from the door edge |
| Connector | Housing diameter, depth and position of the mating hole |
| Number and type of shelves | Shelf pin rows or fixed shelf connectors |
If these choices change later, the holes have to be recalculated. In a workshop that keeps holes by hand, that means re-marking every part; with holes coming from the drawing, only the setting changes.
How do you check holes in the workshop?
- On the first part, measure the hinge cup depth and its distance from the door edge.
- After cutting, dry-assemble two mating parts (side and top/bottom) and see that the holes line up.
- Lay the shelf pin rows of two side panels side by side and compare them.
- On parts with flip-side operations, check that the underside operation is at the right end.
Repeat these checks not only on the first job but every time the machine profile or connector settings change. A change in one setting can affect the holes of every cabinet that had come out fine until then.
How does moducut manage holes and grooves?
In moducut, holes and grooves come from the cabinet drawing: hinges, dowels, shelf pins, Cabineo housings and the back panel groove are placed on the parts automatically and written to the G-code together with the cut. For underside operations, flip-side programs and images showing how the part is placed on the table are exported to a separate folder.
After nesting, hole verification checks that each part's holes are on the sheet in the same place as in the model; the rounding allowance of the cut size is treated as tolerance. If there is a mismatch, you get a warning before it goes to the machine.
You can find the G-code side on the G-code and CNC page and the overall flow in our furniture CNC software article.
Frequently asked questions
Do I need a special bit to machine a hinge cup on a CNC? No. A Ø35 mm drill bit is fast; otherwise the cup can be machined as a circular pocket with a smaller-diameter cutter.
Can I drill dowel holes into the edge on a CNC? A three-axis router cannot drill horizontally into the edge. You need a machine with a horizontal drilling unit or a connector that works from the face.
Why is the flip-side program separate? The router works only from above. For underside operations the part is flipped and a second program that does only those operations is run.
What does hole verification check? That the holes of every part placed on the sheet are in the same place as on the part in the drawing and are not mirrored.
Should furniture CNC software place holes itself? Yes. Entering hole coordinates by hand is both slow and error-prone; holes should come from how the cabinet is built.
Do shelf pin holes need to be drilled in every side panel? If adjustable shelves are wanted, yes. In a cabinet with fixed shelves, connector holes are drilled instead of shelf pins and the number of holes goes down.