Furniture measurement and part takeoff: free options and the reality
Updated: Measuring5 min readBy moducut team
Summarize this article with an AI tool:
Short answer
Is taking measurements the same as doing a takeoff?
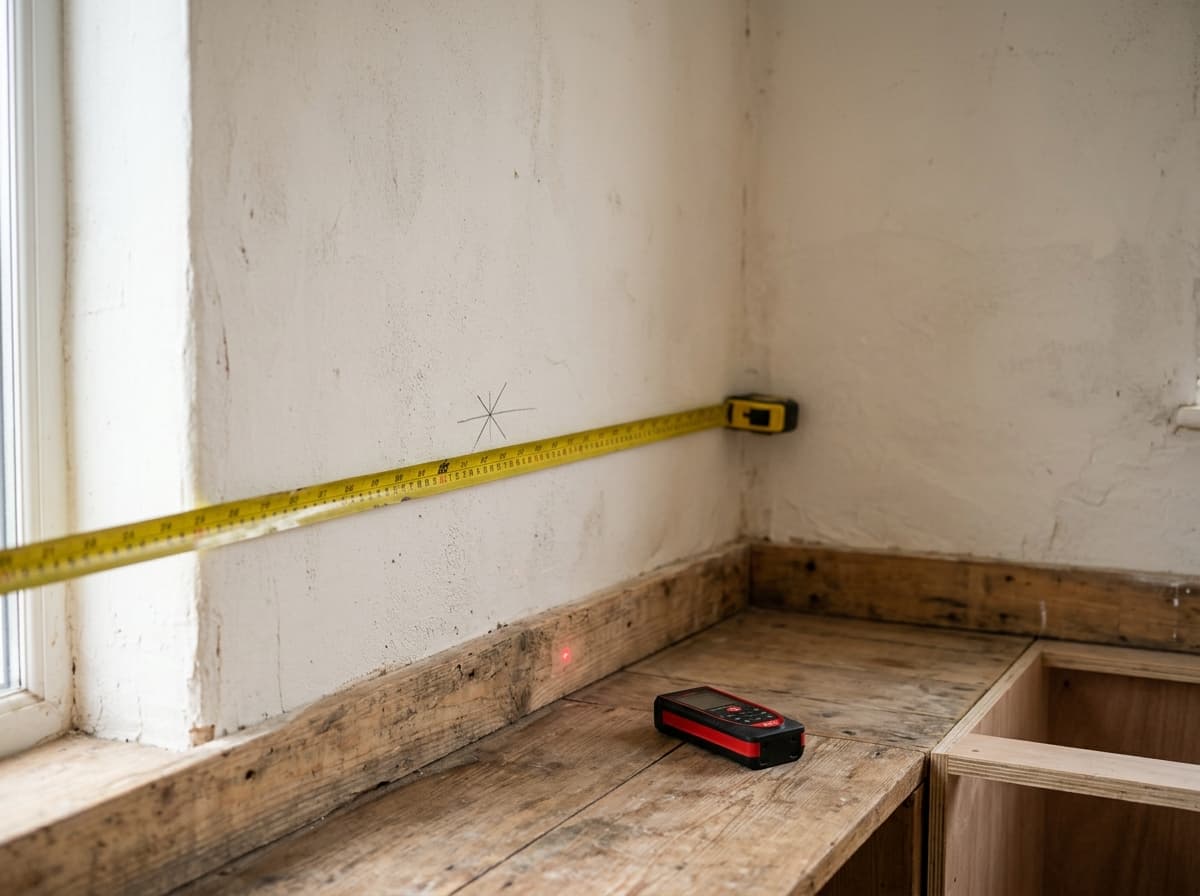
The two are often confused. Taking measurements is the site work: measuring the walls, corners, columns and beams, and the position of windows and services with a tape. A takeoff is the shop work: calculating the cutting size of each part of the cabinets designed from those measurements.
Design sits between the two. The site measurements are split into modules; once the module sizes are set, the sides, bottoms, shelves, doors and back panels of each module follow. A mistake at any link in the chain shows up at cutting or at installation.
What to watch for when measuring on site
- Measure the wall at several points. A wall may not be the same length at every height; measure at the bottom, middle and top and work from the shortest value.
- Check that the corners are square. A corner that is not 90 degrees changes the size of the corner cabinet and the countertop.
- Note columns and beams with their sizes. Every obstruction sticking out of the wall means a notch in the cabinet in front of it.
- Mark the position of services. The location of water, drain, gas and sockets affects the shelves and back panels inside the cabinets.
- Measure the ceiling and floor. Ceiling height decides the size of the wall cabinets and crown; floor slope decides the plinth adjustment.
- Measure windows and doors. A sash must not hit a wall cabinet or the countertop when it opens.
From cabinet size to part sizes: a worked example
The calculation below is for a two-door base cabinet 800 mm wide, 720 mm high and 560 mm deep, made of 18 mm carcass material. The sides run full height and the bottom sits between the two sides. Construction varies from shop to shop, so adapt the numbers to your own method.
- Sides (2 pcs): Height and depth are taken as is: 720 × 560 mm.
- Bottom (1 pc): Two side thicknesses are subtracted from the width: 800 − 2 × 18 = 764 mm. The size is 764 × 560 mm.
- Shelves (2 pcs): For a fixed shelf the bottom width is taken as is; the back panel and a front setback are subtracted from the depth. In the example, 764 × 540 mm.
- Doors (2 pcs): The door gaps are subtracted from the width and the rest is divided by two: with 8 mm of total gap, (800 − 8) ÷ 2 = 396 mm. The top and bottom gaps are subtracted from the height; the size is 716 × 396 mm.
- Back panel (1 pc): For a back panel set into a groove, an allowance equal to the groove depth is added. In the example, with a 6 mm groove allowance on each side, the width is 764 + 12 = 776 mm and the size is 776 × 706 mm.
- Side panel720 × 560× 2
- Bottom panel764 × 560× 1
- Shelf764 × 540× 2
- Door716 × 396× 2
- Back panel776 × 706× 1
Banding
Don't forget the banding allowance
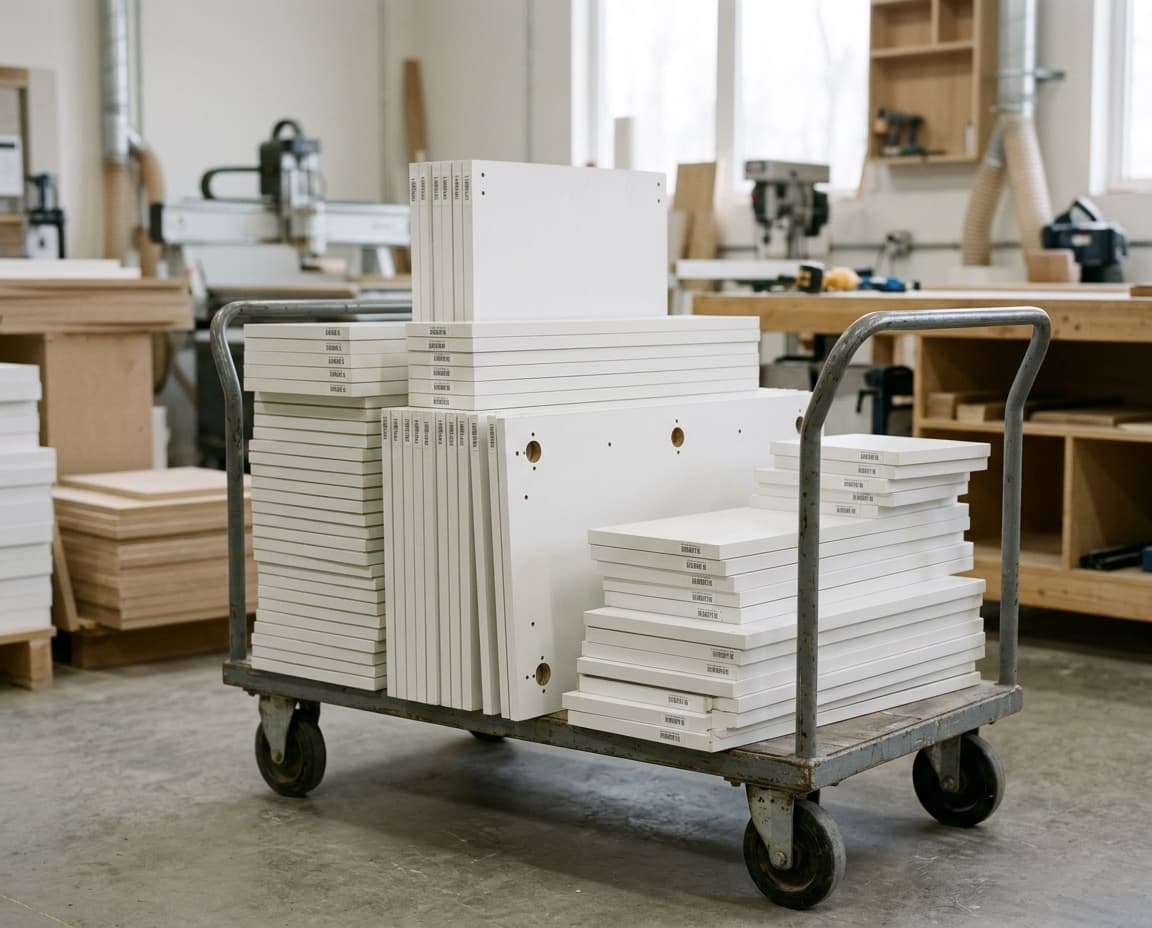
On a banded part, the size on the cut list is smaller than the finished size by the band thickness. A 716 × 396 mm door with 2 mm band on all four edges is cut at 712 × 392 mm on the saw; with 1 mm band the difference is 1 mm per edge. On a list that does not deduct this allowance, the doors come out too big and the gaps between them close up.
The rule is simple: for every banded edge, that edge's band thickness is subtracted from the size. With thin bands such as 0.4 mm this difference is often ignored. If your edge bander has pre-milling, an extra allowance may be needed; measure it on your machine with a test piece.
What free takeoff tools give you, and what they don't
Online you can find free Excel templates, online cabinet calculators and phone apps. Most of them give you side, bottom and shelf sizes when you enter the outside size; for simple, single-module jobs that is enough.
Where they struggle is the exceptions:
- Banding allowance. Deducting size based on which edges are banded and how thick is missing from most tools, or is a single fixed value.
- Notches. Allowances taken out of a part for columns, beams or Gola handles are calculated by hand.
- Corner cabinets. Part sizes in L-corner and blind corner modules differ from a straight cabinet.
- The whole project. The tool calculates one cabinet; it does not gather same-size parts across the whole kitchen into a single list.
Whatever tool you use, when you switch to a new construction method, verify the sizes by cutting and assembling the first cabinet.
Common takeoff mistakes
- Assuming board thickness. The same “18 mm” board can vary by a few tenths of a millimeter between brands. Measure the board you have when calculating bottom and shelf sizes.
- Forgetting the back panel allowance. If the groove allowance is not added to a grooved back panel, it ends up loose; if a nailed-on back is not reduced from the outside size, it sticks out.
- Deducting the gap twice. Subtracting the door gap from both the cabinet size and the door size makes doors narrower than they should be.
- Leaving no clearance on shelves. An adjustable shelf cut to the exact distance between the two sides can jam when fitted; that is why adjustable shelves are usually cut 1–2 mm narrower.
- Including the plinth in the carcass. Sides calculated without subtracting the plinth from the total height push the countertop above the intended height.
- Not reflecting the notch in the size. If a part notched for a column or beam still appears as a plain part on the list, it has to be cut on site.
For the terms notch and Gola, see the notch and Gola handle entries.
Takeoff in moducut
In moducut, the takeoff happens inside the drawing. With Room Design › Room you enter the room dimensions, floor shape, doors and windows; with Column and Beam you add obstructions and use Notch to notch the modules that clash with them, and the back panel is split to follow the notch. With the Measure tool in View you can measure between two points on screen, and with Door Gap the gaps between doors.
When you change a module's size, its parts are recalculated; on the cut list, sizes come in with the banding allowance already deducted. See the drawing and cut list pages for details, and the glossary for terms.
Frequently asked questions
Is there free software for furniture part takeoff?
Yes; Excel templates and online calculators work for simple cabinets. For exceptions such as banding allowance, notches and corner cabinets, however, you usually have to calculate by hand.
How is the bottom panel size calculated?
If the sides run full height, the bottom width is the cabinet width minus two side thicknesses: 764 mm for an 800 mm cabinet in 18 mm material. Depending on how the back panel is fitted, the depth is either taken as is or reduced by the back panel allowance.
Is the banding allowance deducted on every part?
Only on banded edges. With thin bands such as 0.4 mm the difference is often ignored; with 1 and 2 mm band, ignoring it throws the sizes off.