Furniture cut list software: from Excel to an automatic list
Cut lists5 min readBy moducut team
Summarize this article with an AI tool:
Short answer
What is a cut list?
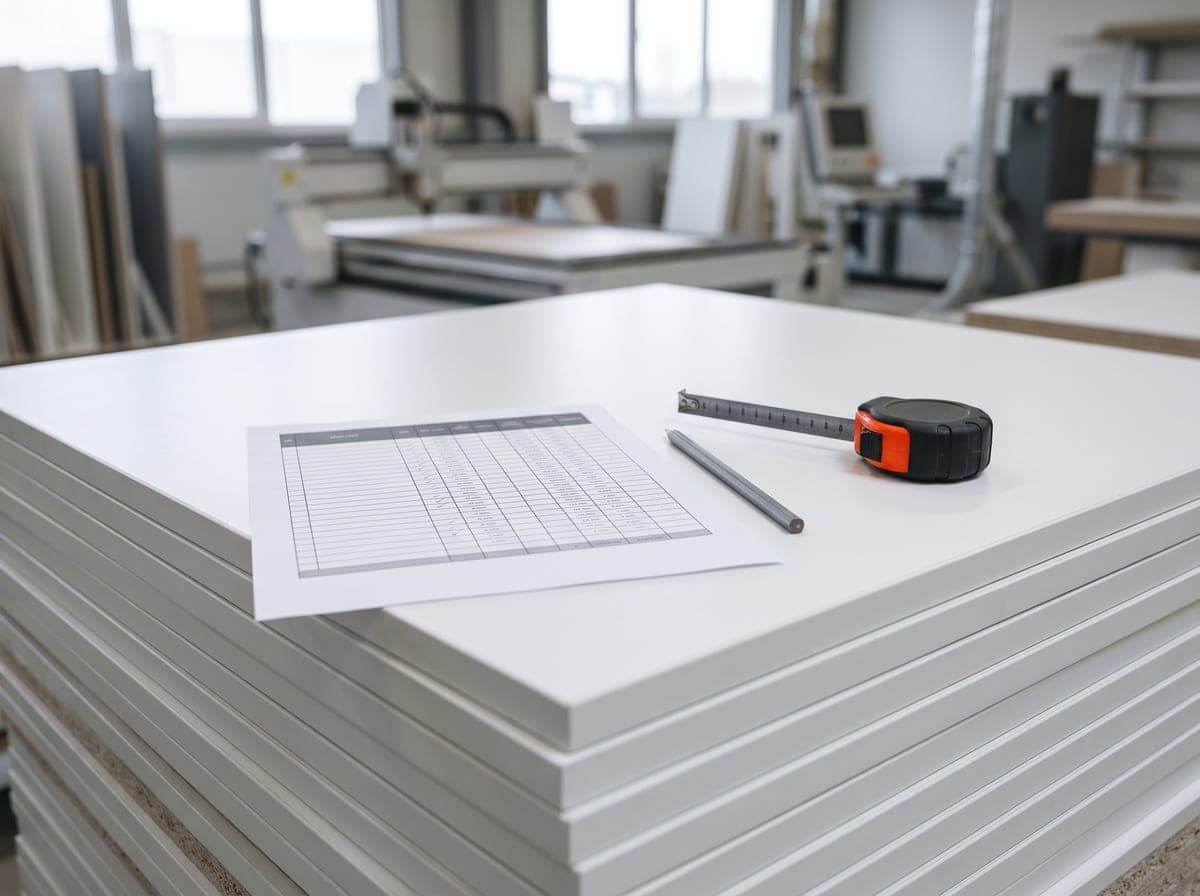
A cut list is the document that shows the size, quantity and material of every part in a job. The person at the saw, the subcontract cutting shop or the panel saw all work from it. The clearer the list, the fewer questions come up during cutting.
For a single cabinet the list is a few lines. A full kitchen has dozens of modules and hundreds of parts: sides, bottoms, shelves, doors, drawer boxes, plinths and back panels are each written out separately. Mistakes usually start when the number of lines grows.
What should a cut list include?
Whether you build it in Excel or in software, a good cut list has the following:
- Cabinet and part name. If the list does not say which module a part belongs to, someone ends up hunting for it during assembly.
- Material and thickness. A part of the same size can be cut from 18 mm white melamine chipboard or from 18 mm melamine MDF door stock.
- Length, width and quantity. The shop should stick to one rule for the order of length and width; on patterned boards, that order tells you which edge the grain runs along.
- Edge banding. Which edges are banded, and with what thickness. A list without banding leaves the edge bander guessing.
- Cutting size and finished size. The size with band thickness deducted is not the same as the size the part has to be at assembly.
- Grain direction. Whether a part on a patterned board can be rotated or not.
Why does an Excel cut list get harder over time?
Excel is a good tool for starting a cut list: everyone has it and formulas are easy to write. The trouble starts when the list stops being a template and becomes a project.
When a customer narrows a cabinet from 60 cm to 55 cm, the bottom, shelf, door and back panel of that module all change. If the formulas are set up correctly those lines update, but exceptions such as corner cabinets, column notches or drawer boxes are often fixed by hand. A formula broken in a copy-pasted line can go unnoticed.
Edge banding adds its own load. You have to type which edges are banded and the band allowance into every line by hand. Grouping parts of the same size into one line, splitting them by material and totalling band meters all mean extra formulas and extra checks.
In short, an Excel list works as long as it is kept accurate. But keeping it accurate turns into a time-consuming job of its own as the work grows.
Excel template or cut list software?
Which one suits you depends on the kind of work you do:
- Low-volume, repeat work. If you always build a few cabinets in the same sizes, a well-built Excel template may be enough.
- Sizes that change every time. For kitchens, wardrobes and TV units sized to the room, the list is recalculated from scratch on every project; here, software that pulls the list from the drawing saves time.
- CNC or panel saw. If the list goes to a machine as a file, you need a format the machine can read rather than a hand-kept table.
- More than one person. If the person who draws the job and the person who cuts it are different, a list from a single source reduces differences in interpretation.
Which edges get banded?
The general rule is to band the visible edges. In common practice, the front edge of carcass sides (often the top and bottom edges too), the front edge of bottoms and shelves, and all four edges of doors are banded. Back panels are not banded because they are not seen.
The most common band thicknesses on the market are 0.4 mm, 0.8 mm, 1 mm and 2 mm. Thick band is preferred on doors and on edges that take knocks, thin band on inner and less visible carcass edges. This choice varies from shop to shop; what matters is that it is written on the list, line by line.
When ordering band, you need thickness and decor together: 2 mm white and 2 mm walnut are different products. If the list totals band meters separately by thickness and decor, the order is clear at a glance. For a short definition of the term, see the edge banding entry.
Cutting size vs. finished size
The cutting size of a banded part is smaller than its finished size by the band thickness. A door with a finished size of 716 × 396 mm and 2 mm band on all four edges is cut at 712 × 392 mm. With thin bands such as 0.4 mm this difference is often ignored; with thick band, ignoring it throws off the gaps between doors.
If your edge bander has pre-milling, you may also need to account for the material the machine trims off the edge. Since this allowance varies by machine, verify it by measuring a part on your first job.
Sending the cut list to the cutter or the machine
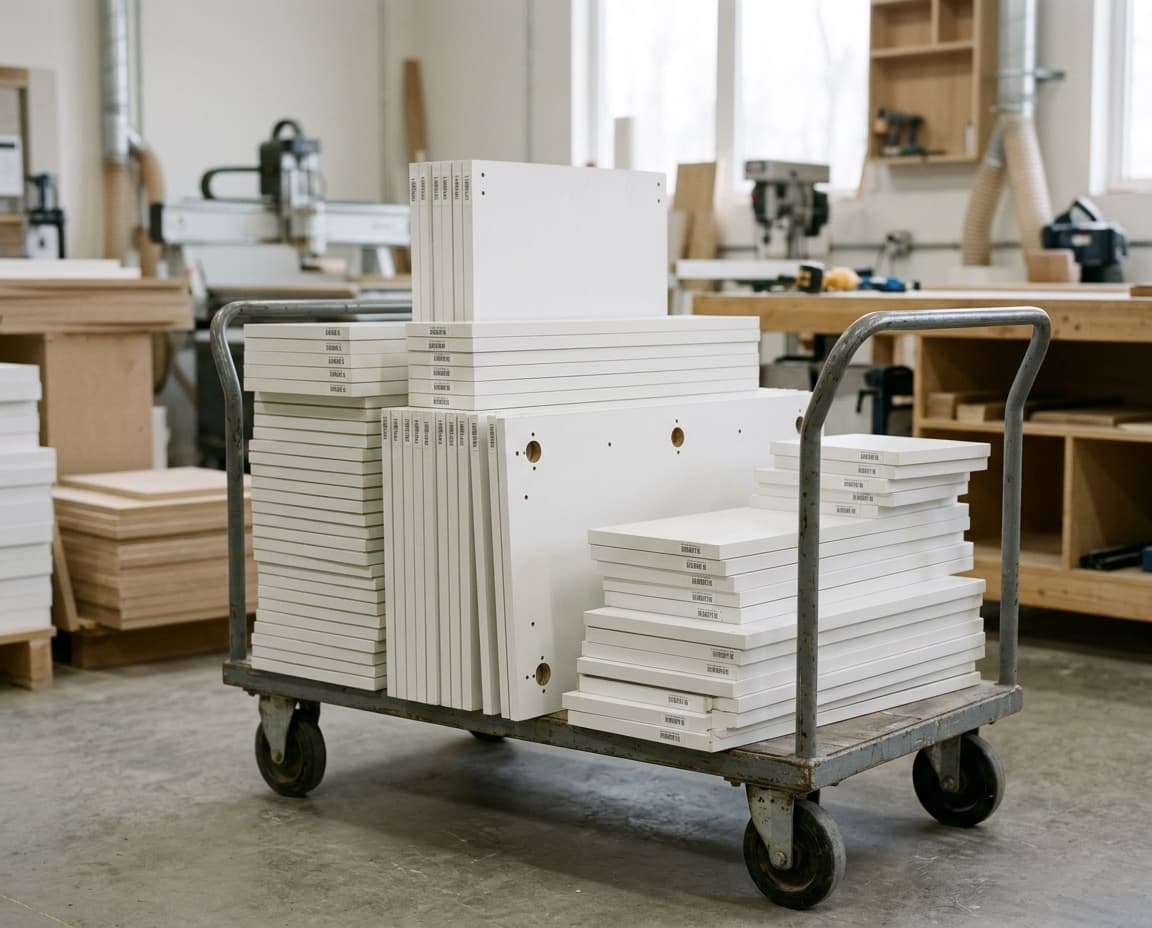
If you do not have your own saw, the list usually goes to a subcontract cutting shop. Two things matter here: the list must be easy to read, and parts of the same size should be grouped into one line. A line that says “6 pcs 764 × 558” is quicker to read than six separate lines and leads to fewer mistakes.
If a panel saw or panel saw software is used, the list is usually requested as a file such as CSV or XML. Some machines expect each part on its own line with a barcode, so that each cut part matches its label. Check your machine's or your cutting service's software to find out which format is needed.
How does moducut produce the cut list?
In moducut the list comes from the drawing: parts are calculated as soon as you add a module to the room, and Production › Cutting opens the Cut List window. Each line shows cabinet name, part name, material, length, width, thickness, quantity and PVC banding; parts with the same size and the same banding layout are grouped into one line. Sizes are cutting sizes with the band allowance deducted, and the finished size is calculated separately. You can export the list to Excel, save it as CSV, print it, or use “Export with Profile” to get a CSV or XML file with a barcode per part for your panel saw. The Labels tab produces a barcoded label for every physical part.
For jobs where you just want to enter sizes without drawing, there is the Panel Sizing window: type the part sizes and banding into the table and go straight to the cutting plan. See the cut list and part labels pages for details.
- Side panel720 × 560× 2
- Bottom panel764 × 560× 1
- Shelf764 × 540× 2
- Door716 × 396× 2
- Back panel776 × 706× 1
Banding
Frequently asked questions
Is cut list software the same as nesting software?
No. A cut list gives the size, quantity and material of the parts; nesting plans how those parts are laid out on the board. For more, see the nesting page.
Can I keep using my Excel cut lists?
Yes. An Excel list does the job for small, repeat work. For work where sizes change on every project, pulling the list from the drawing reduces the manual calculation and checking.
How should I write band thickness on a cut list?
Write down which edges of each part are banded and with what thickness; for example “front 2 mm, top and bottom 0.8 mm”. For ordering, total the band meters separately by thickness and decor.